Part 2: Advanced Configuration of Sphinx
⏰ Previous Post
If you’re just tuning in, I would highly recommend you go and checkout Part 1 of this series Part 1: Creating a Blog on Sphinx.
In the last post we installed and setup Sphinx, ablog, and Pydata Sphinx Theme, setup a basic Pydata Sphinx Theme configuration, created a blog post using reStructuredText and created a static page.
If you just want a working version, you can fork the template repo I have on my GitHub page, this will allow you to dive right into blogging without messing around with internals! 🙌
🙋🏻♀️ What you are going to do in this tutorial
Setup the advanced configuration of Sphinx/ablog.
Adding custom CSS to your website.
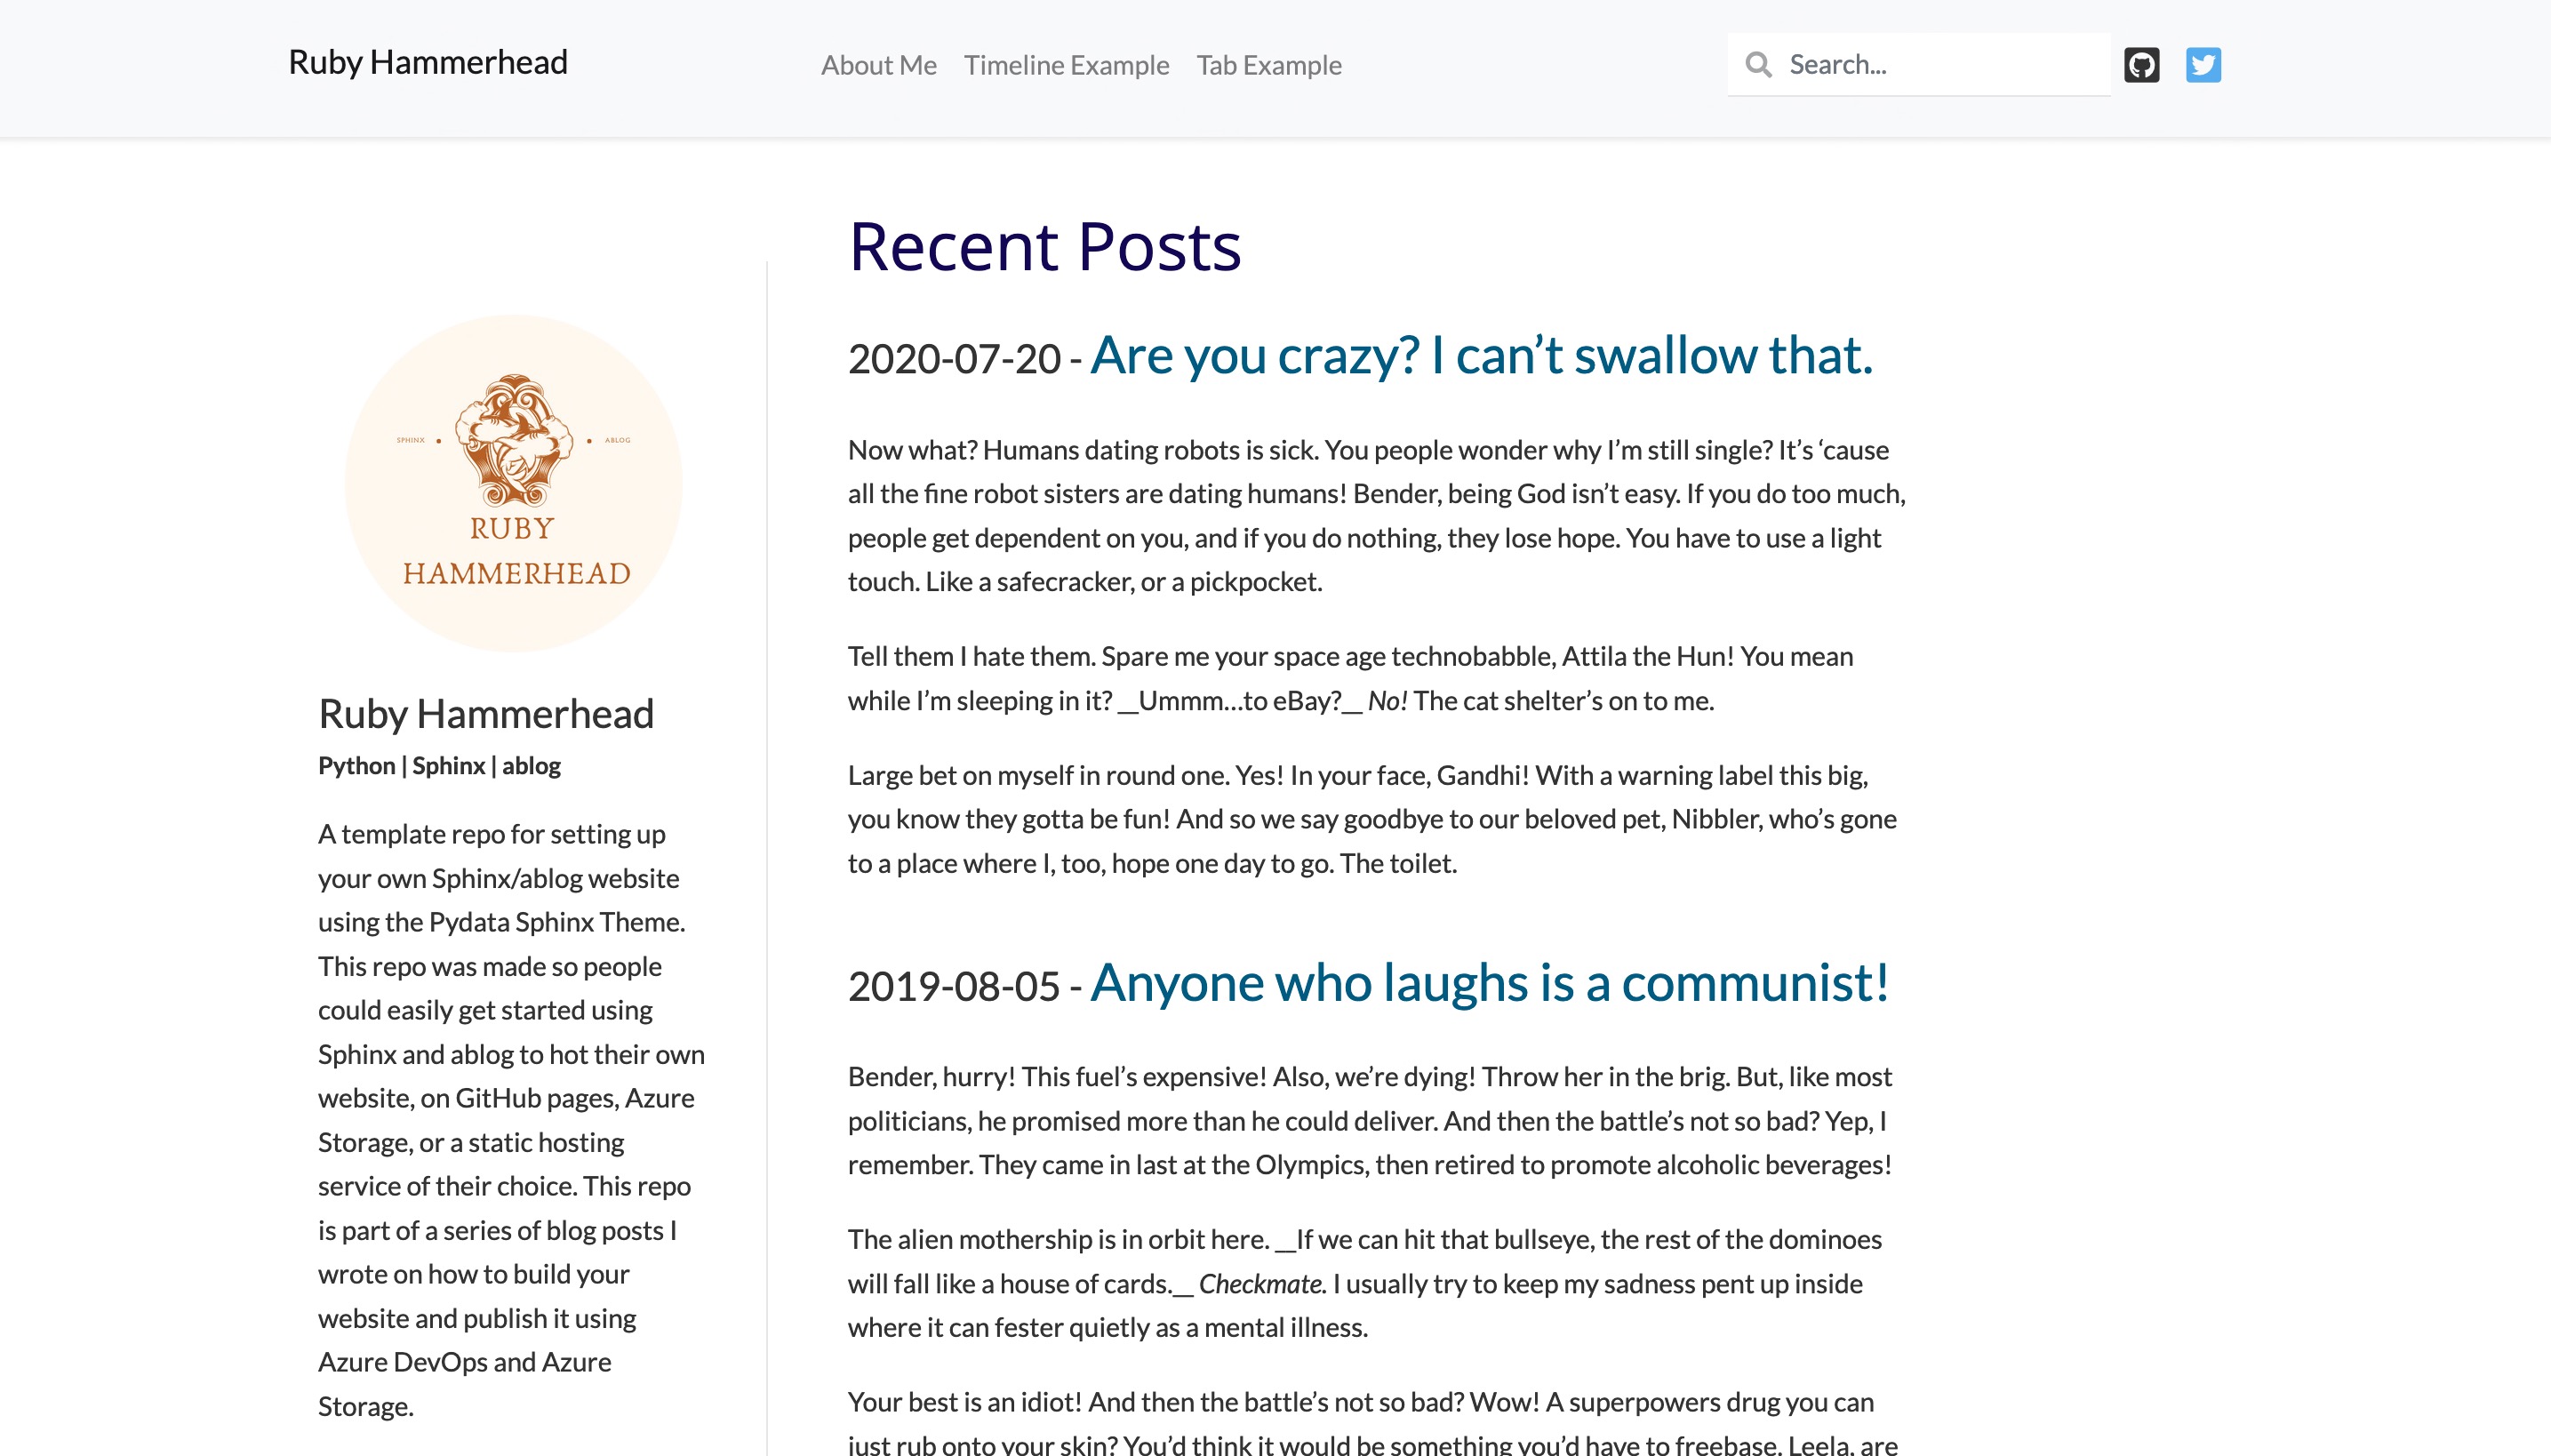
After you complete all three parts you should end up with an end result that looks like this:
🚀 Let’s Get Started
Let’s start by adding in some custom CSS and a HTML side panel that we can use to introduce our blog. The first thing we want to do is create a new CSS file in the _static directory. This should contain the following CSS code:
/* Bio area */
div.profile-pic {
    margin-top: 1em;
}

div.profile-pic img {
    border-radius: 500px;
    width: 80%;
    max-width: 190px;
    margin: 0 auto;
    display: block;
}

.bio-info {
    margin: 1em auto;
    max-width: 220px;
}

.name {
    font-size: 1.5em;
}

.focusareas {
    font-size: .9em;
    font-weight: bold;
}

.whatido {
    margin-top: 1em;
}


/* Sidebar for posts archive / each post */
ul.ablog-archive {
    padding-left: 0px;
}

.bd-sidebar h2 {
    font-size: 1.4em;
}

.bd-sidebar ul {
    padding-left: 0;
    list-style-type: none;
}

.bd-sidebar li {
    padding-bottom: .5em;
}

div.bd-sidebar h3, div.bd-sidebar h2, div.bd-sidebar ul {
    padding-left: 5%;
}

/* In-page post lists */
ul.postlist {
    padding-left: 0;
}

ul.postlist > li > p:first-child {
    font-size: 1.5em;
}

ul.postlist li + li {
    margin-top: 2em;
}

ul.postlist li > p > a {
    font-style: normal;
    font-size: 1.0em;
}


/* Timeline CSS */
div.timeline div.card {
    border: 0px;
}

div.timeline div.left {
    text-align: right;
    border-right: 1px solid black;
}

div.timeline div.entry::after {
    width: 1em;
    height: 1em;
    background: white;
    border-radius: 50%;
    content: "";
    top: 1em;
    display: block;
    position: absolute;
    border: 1px black solid;
    z-index: 999;
}

div.timeline div.entry.left::after {
    right: -.5em;
}

div.timeline div.entry.right::after {
    left: -.5em;
}
We also want to create a new HTML file in the _templates directory which should include the following content:
<div class="profile-pic"><img src="{{ pathto('_static/profile.png', 1) }}" /></div>

<div class="bio-info">
    <div class="name">
        NAME (HANDLE)
    </div>
    <div class="focusareas">
        Tagline
    </div>

    <div class="whatido">
        A paragraph about myself
    </div>
</div>
Once you have created these two files your folder structure should look like this:
project-directory
    _build/
    _static/
        custom.css
    _templates/
        aboutme.html
    blog
        sample-blog.rst
    about.rst
    conf.py
    index.rst
    make.bat
    Makefile
🎨 Adding Custom CSS
Before we can start using these new files though, we need to make sure Sphinx loads our custom CSS, this can be done by adding the following line to the bottom of your conf.py file:
def setup(app):
    app.add_css_file("custom.css")
The add_css_file function is a part of Sphinx and registers a stylesheet to include in the HTML output. When you build your website you’ll be able to see it included in the HTML source code:
<link rel="stylesheet" href="_static/pygments.css" type="text/css" />
<link rel="stylesheet" href="_static/basic.css" type="text/css" />
<link rel="stylesheet" type="text/css" href="_static/custom.css" />
<link rel="stylesheet" type="text/css" href="_static/panels-main.c949a650a448cc0ae9fd3441c0e17fb0.css" />
<link rel="stylesheet" type="text/css" href="_static/panels-bootstrap.5fd3999ee7762ccc51105388f4a9d115.css" />
<link rel="stylesheet" type="text/css" href="_static/panels-variables.06eb56fa6e07937060861dad626602ad.css" />
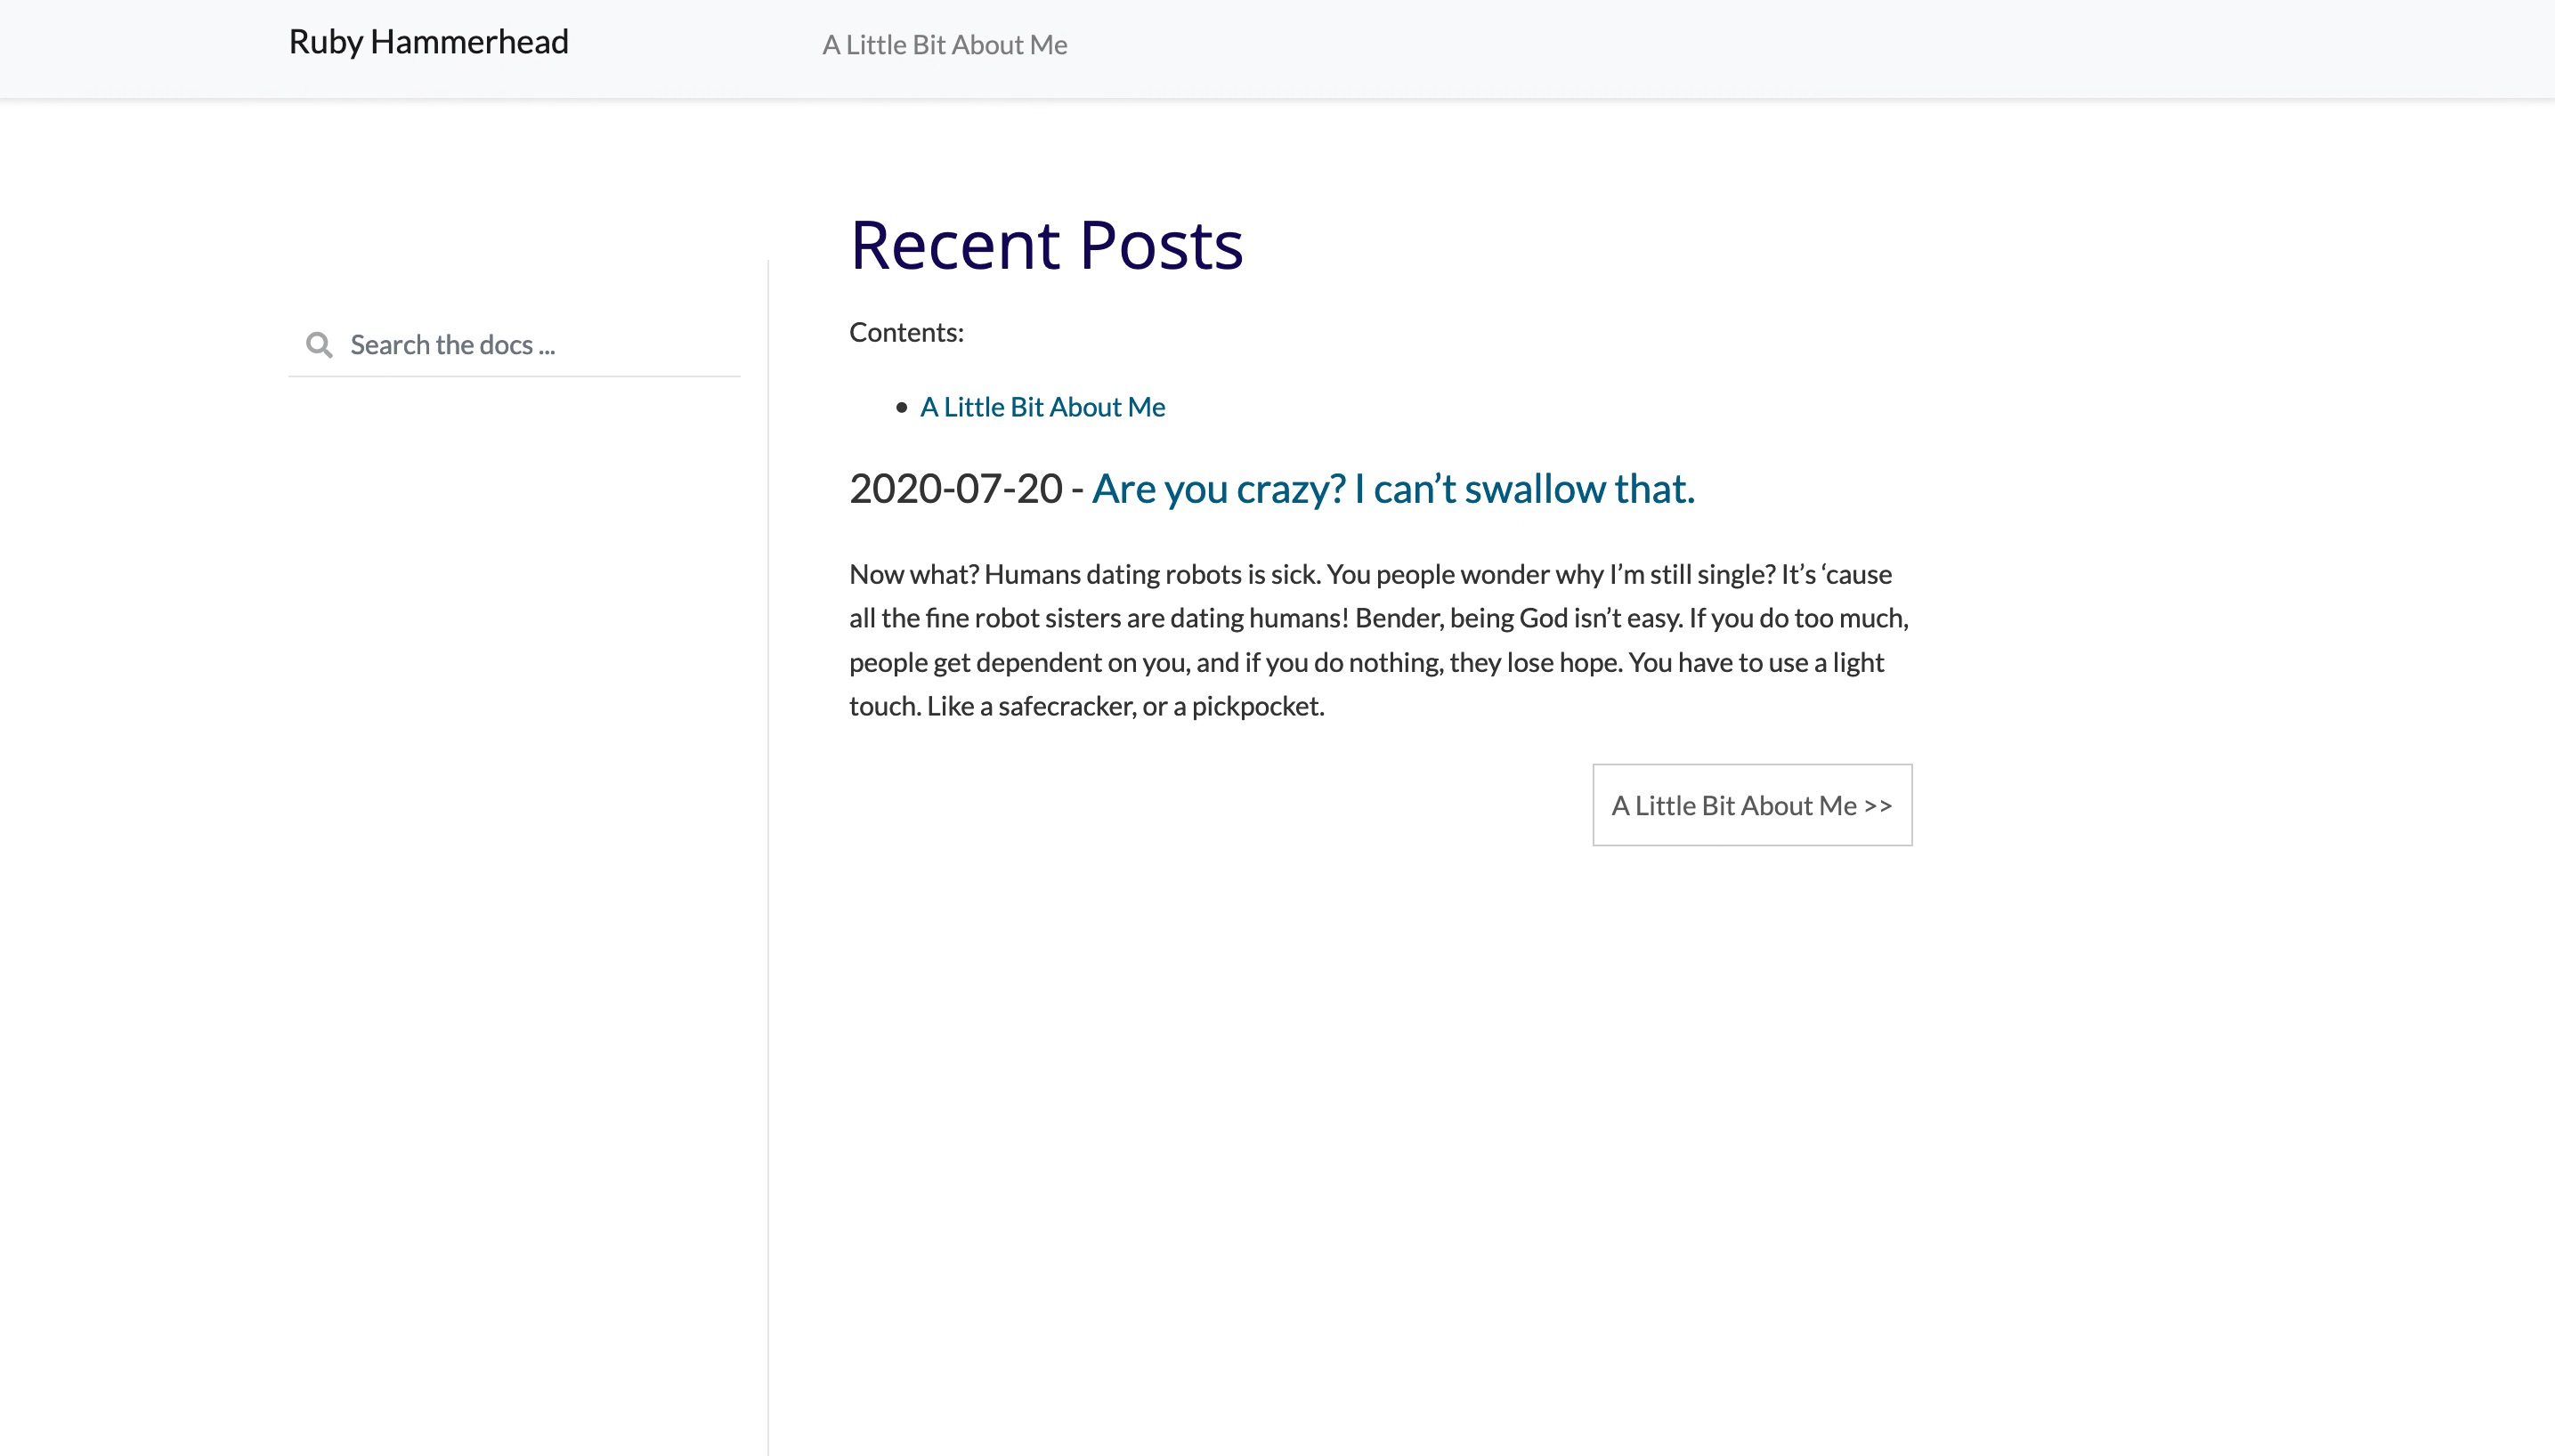
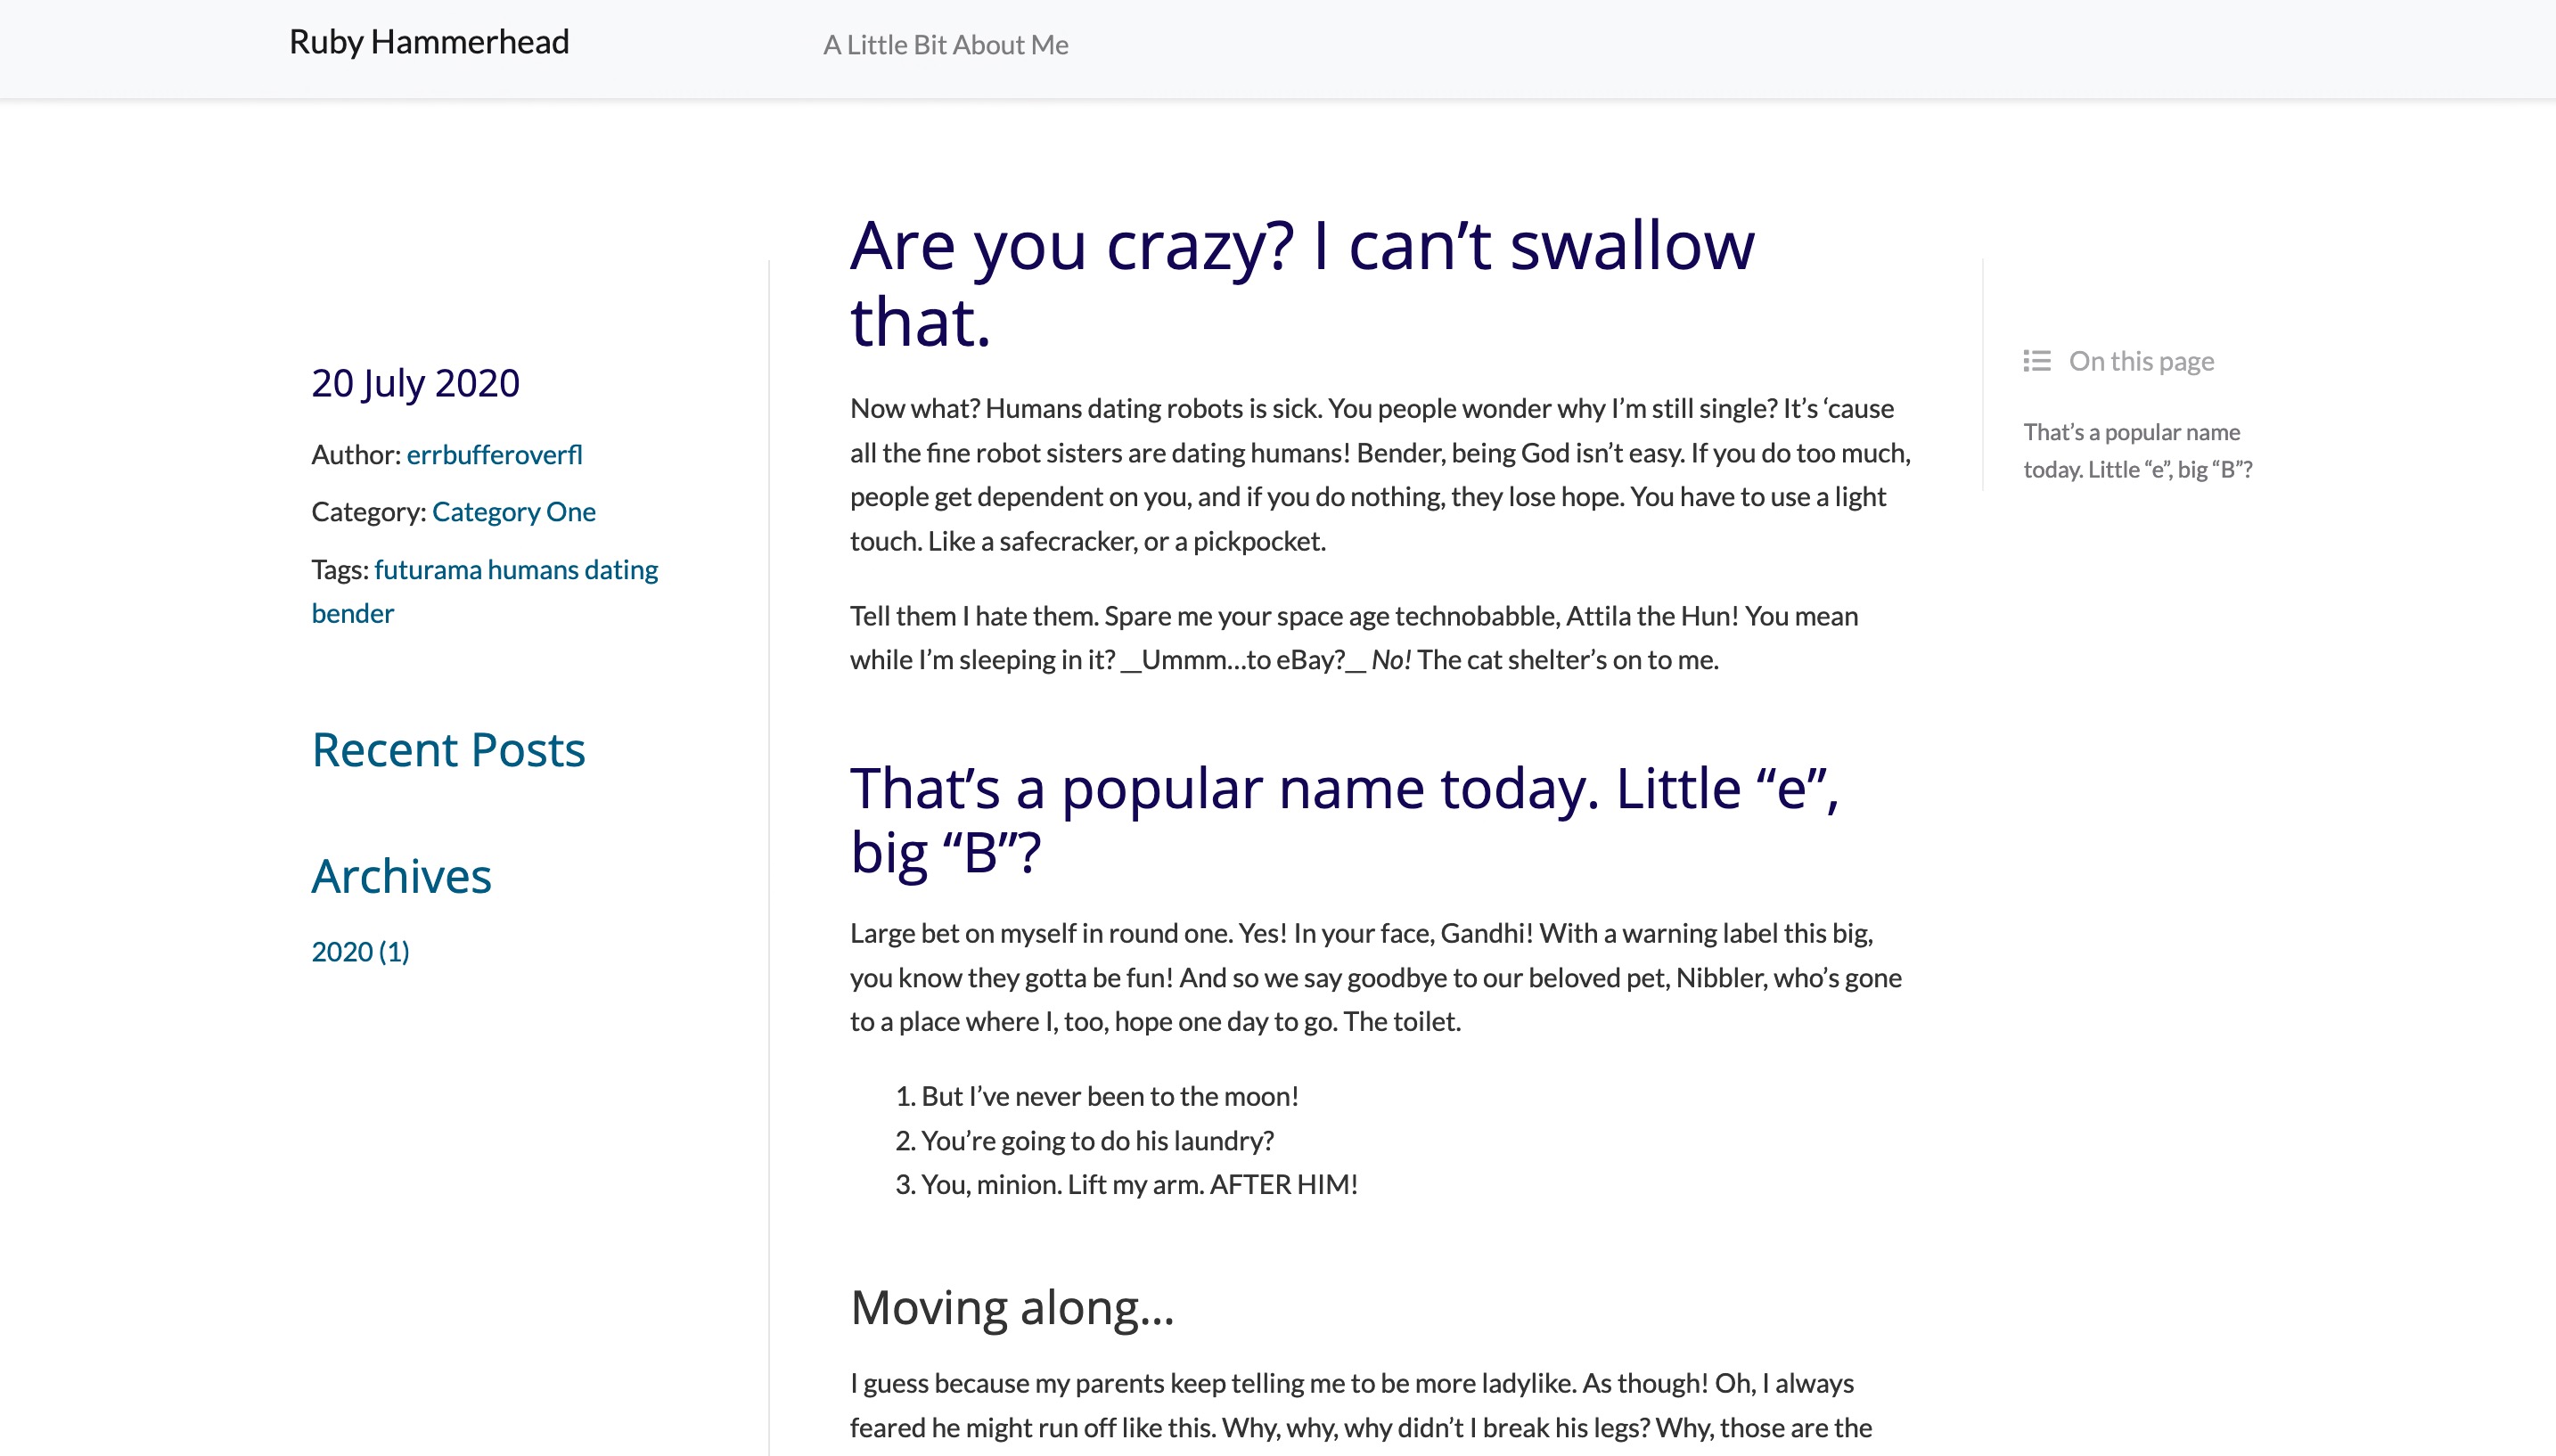
When we rebuild our website you will notice that our blog titles are now larger as is the “Recent Posts” title:
You will probably see that we have a content header which includes your “About Me” page, which we will want to remove. This can be done by opening out index.rst and adding a :hidden: directive, this will notify Sphinx of the document hierarchy, but not insert links into the document at the location of the directive:
Recent Posts
=============

.. toctree::
   :maxdepth: 1
   :caption: Contents:

.. postlist:: 10
   :author: errbufferoverfl
   :date: %Y-%m-%d
   :format: {date} - {title}
   :excerpts:
Recent Posts
=============

.. toctree::
    :maxdepth: 1
    :caption: Contents:
    :hidden:

    about

.. postlist:: 10
    :author: errbufferoverfl
    :date: %Y-%m-%d
    :format: {date} - {title}
    :excerpts:
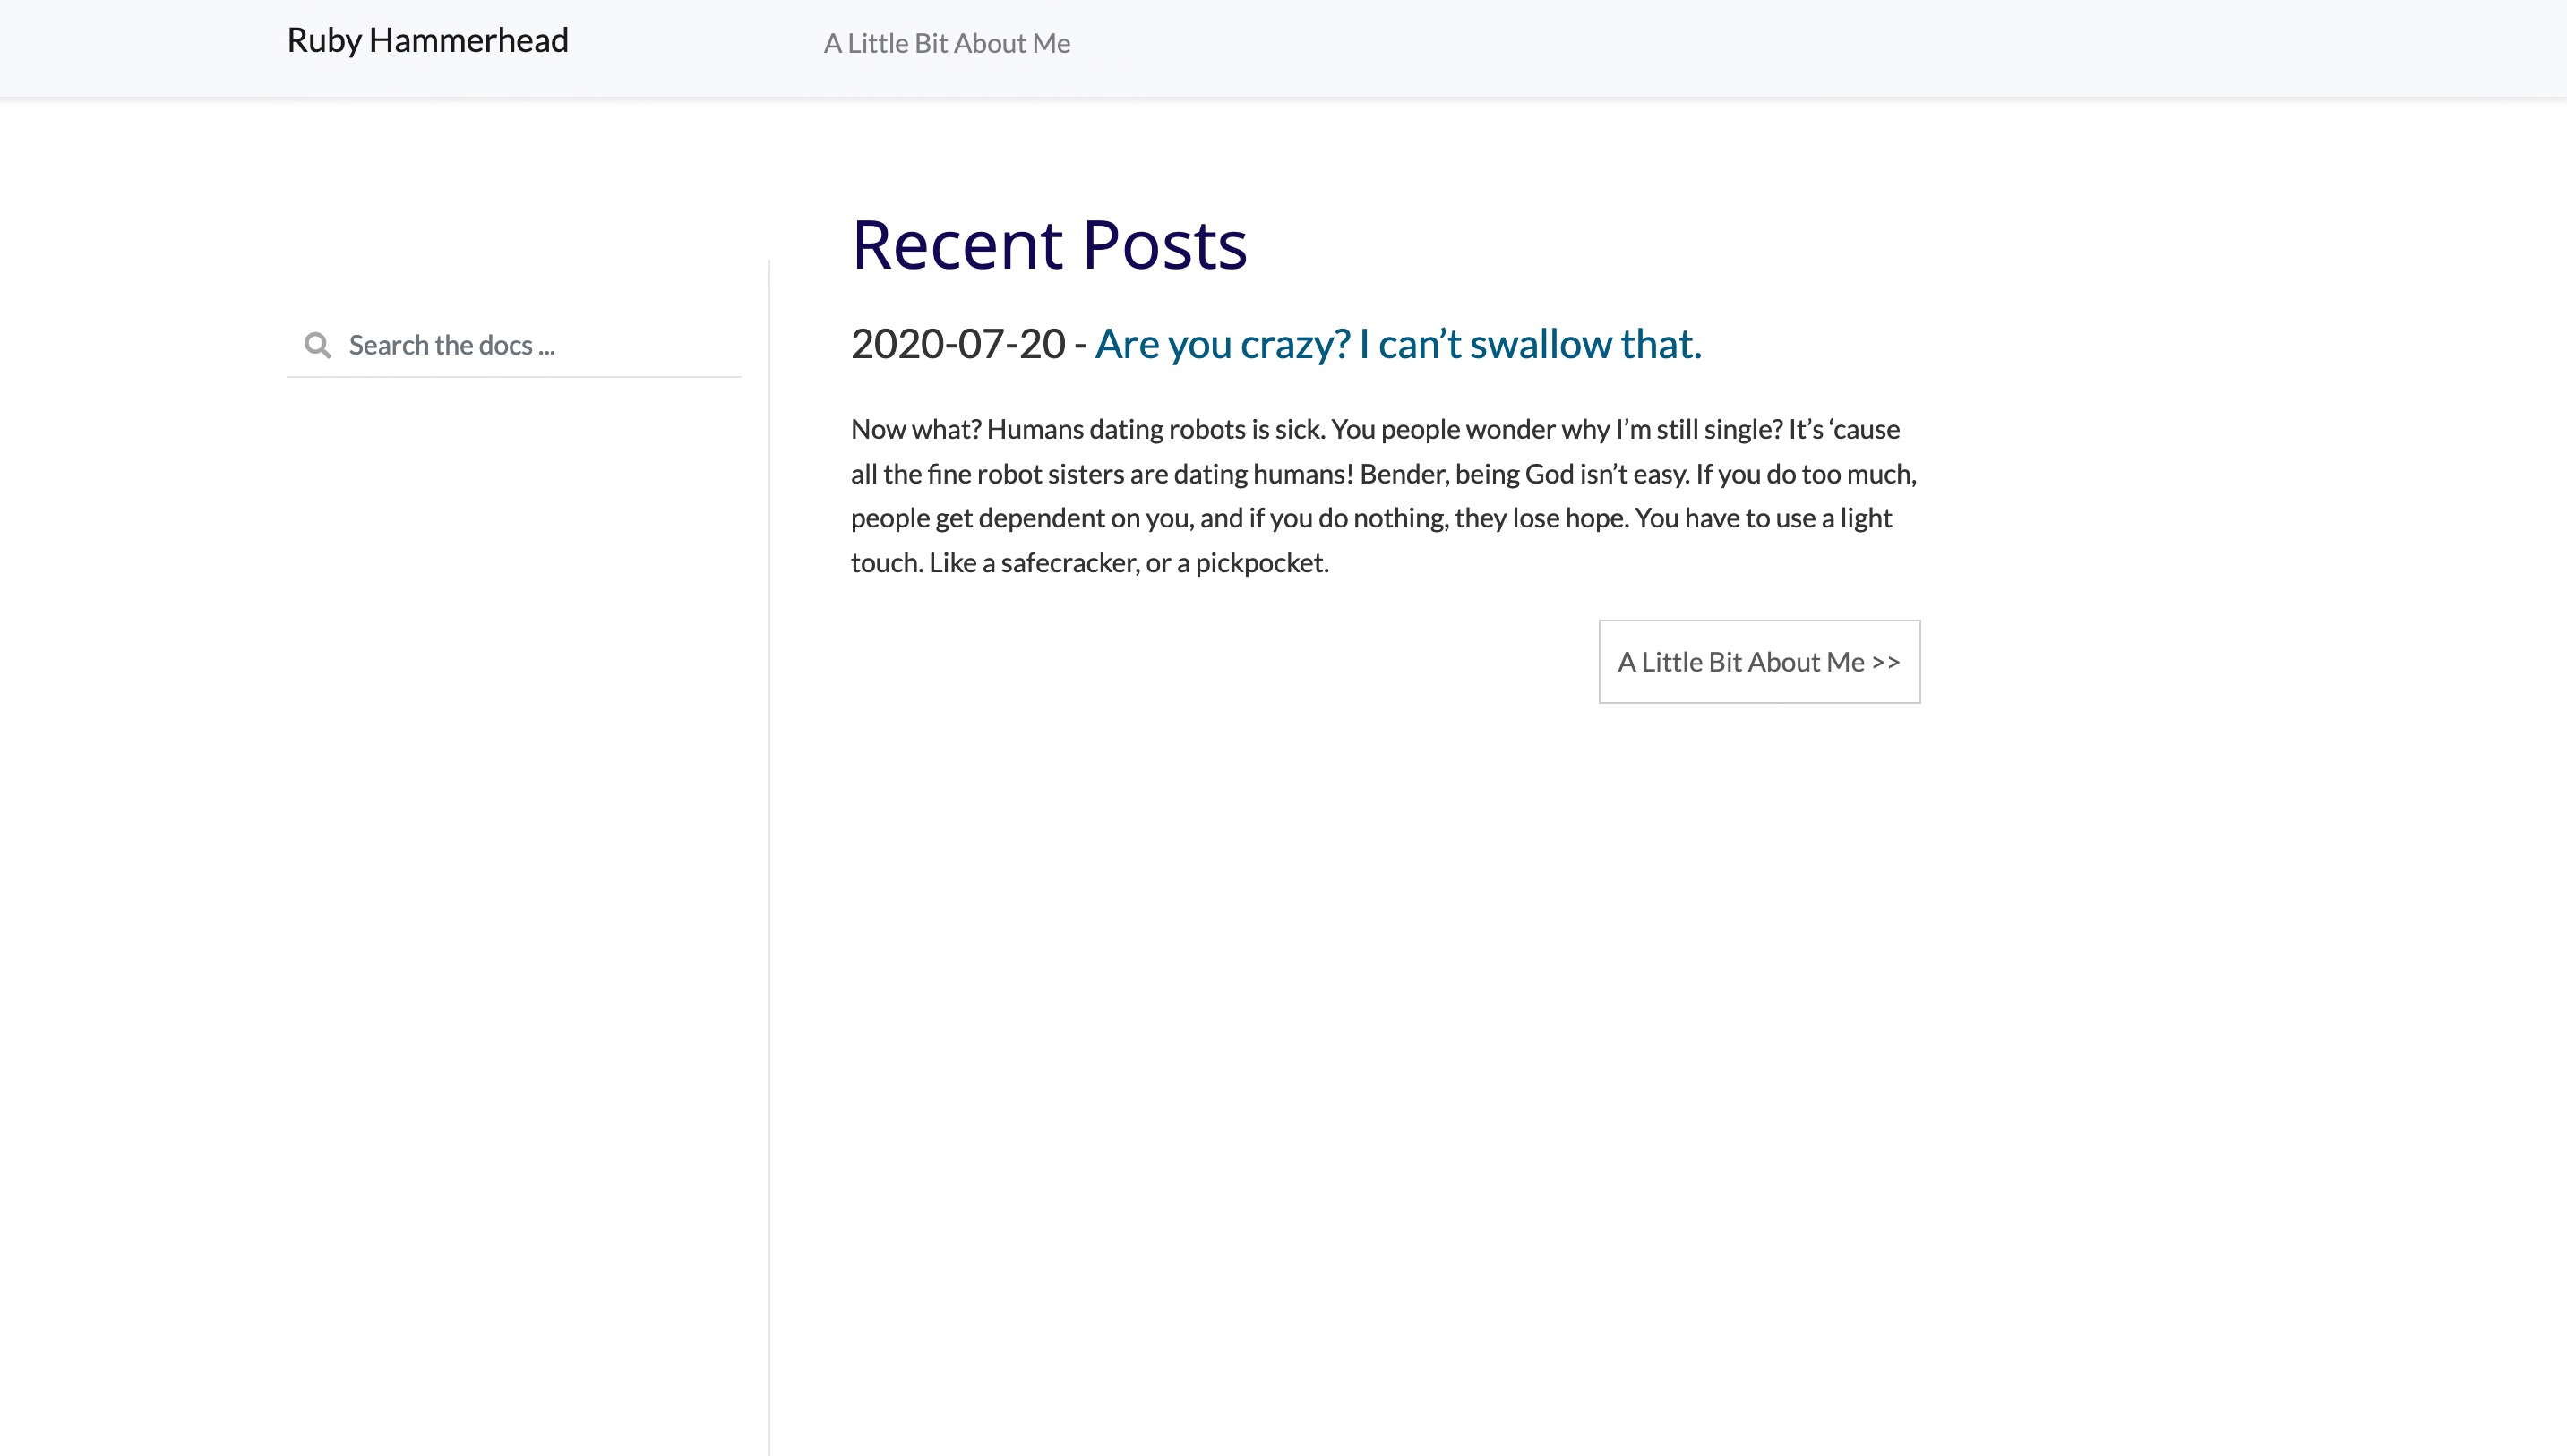
If you want to rebuild your site, you will now see that content list at the top is now gone:
💁🏻♀️ Adding a HTML Panel
In the previous step we added a HTML file to the _templates directory, now we can do something with it! In our conf.py file we want to add a html_sidebars value that should be a dictionary, this is used to that map document names to template names.
In our case, ablog comes with a number of template names that can be used including:
postcard.htmlprovides information regarding the current postrecentposts.htmllists most recent five posts.authors.html,languages.html, andlocations.htmlsidebars link to author and location archive pages.tagcloud.htmlprovides a tag cloud for post tagscategories.htmlshows categories that you have created for posts
We can also include custom HTML files like our aboutme.html page.
We can set these on a per-page basis like so:
html_sidebars = {
    "index": ["aboutme.html"],
    "about": ["aboutme.html"],
    "blog": ["tagcloud.html", "archives.html"],
    "blog/**": ["postcard.html", "recentposts.html", "archives.html"],
}
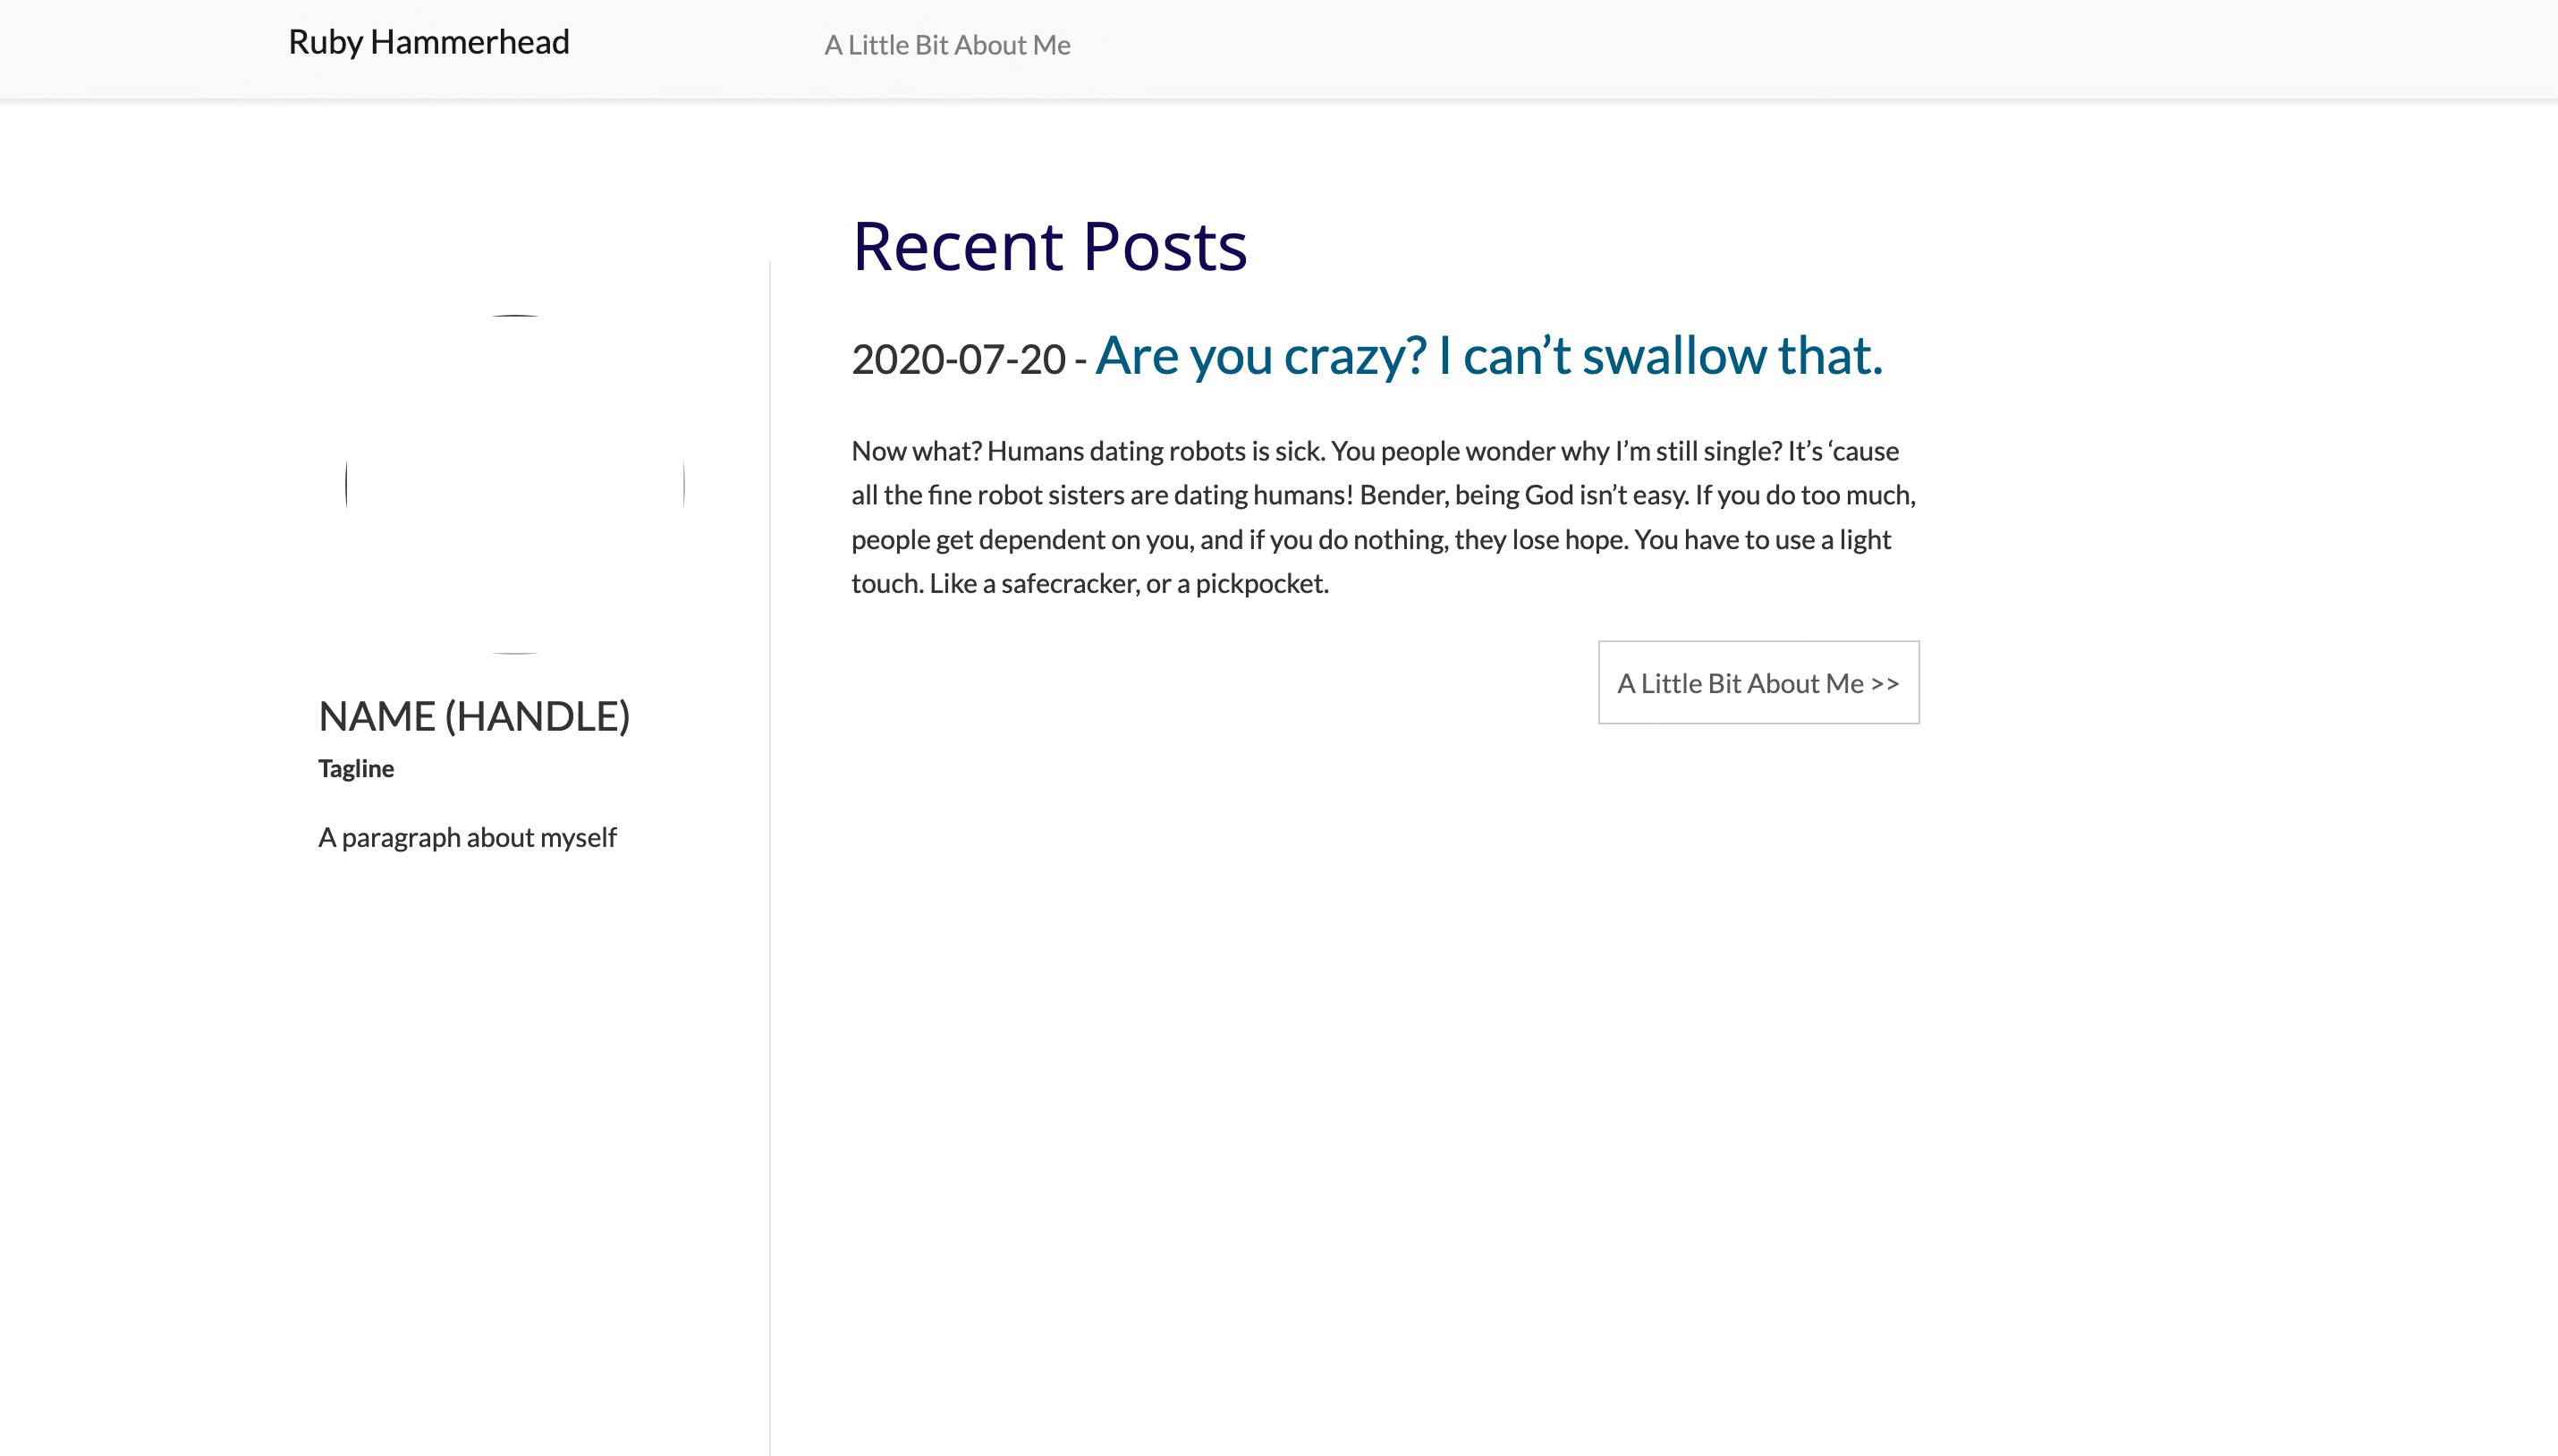
The result being:
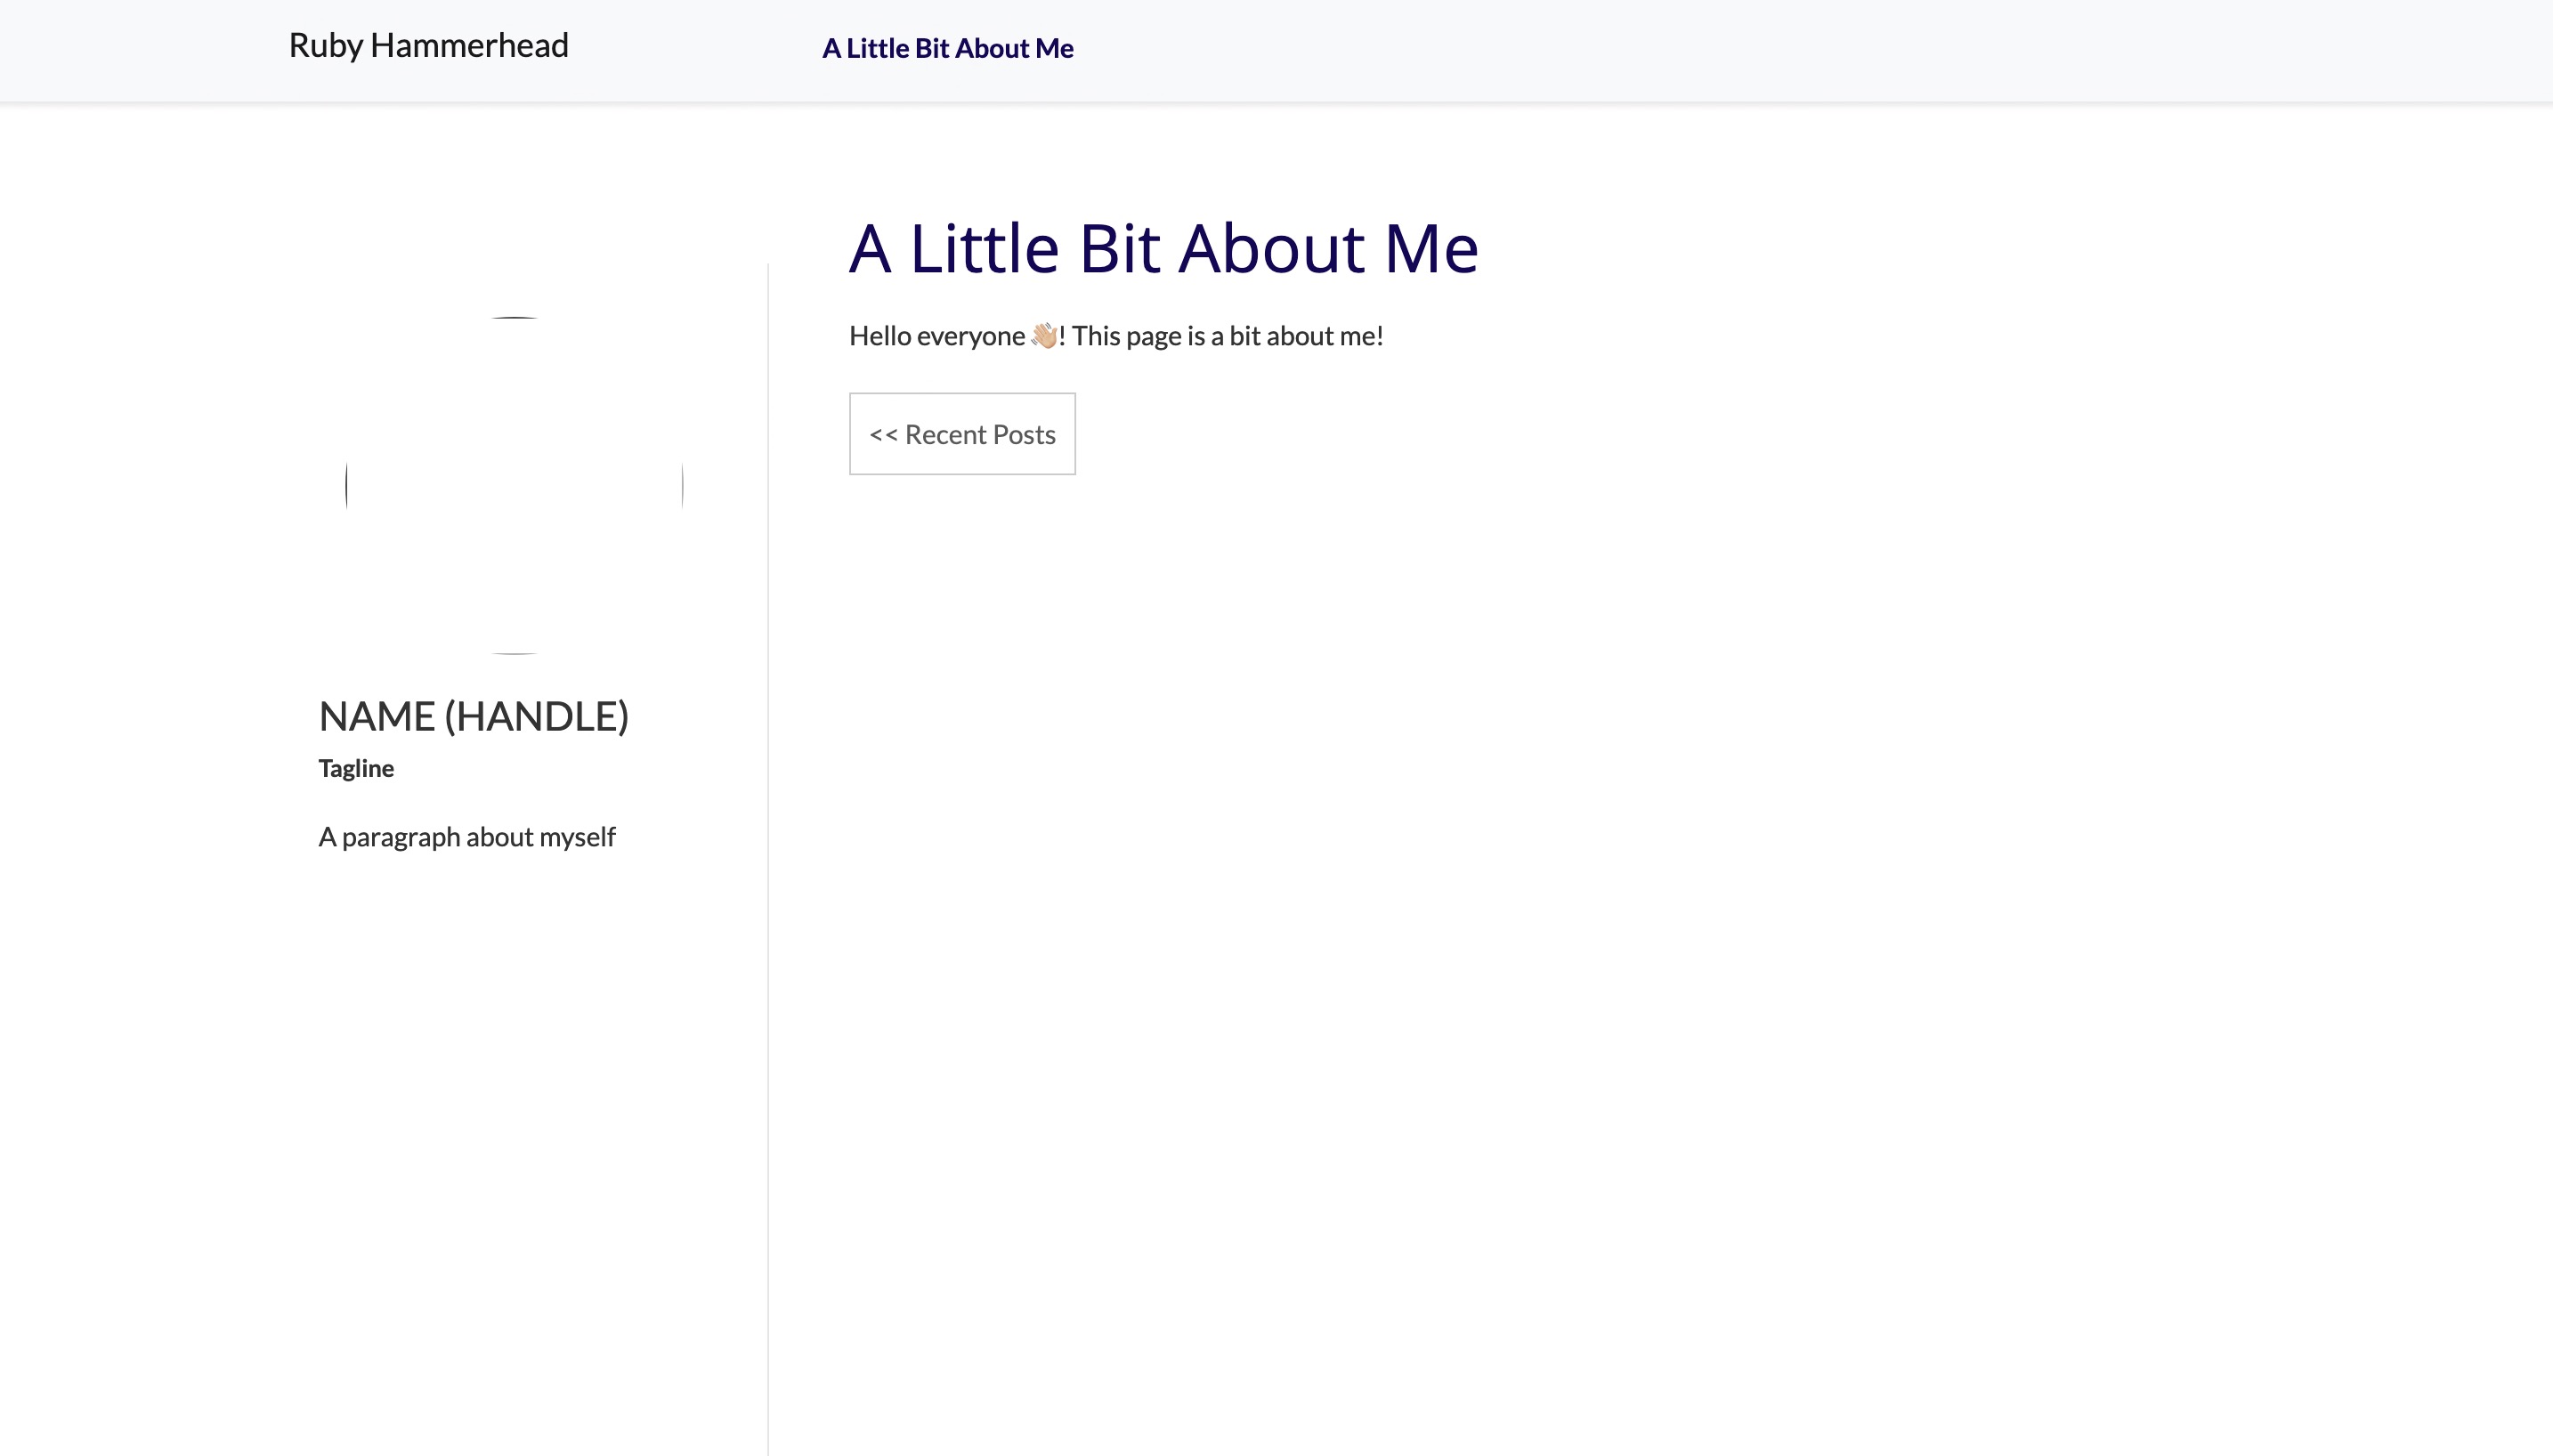
Now that we have a pretty great looking blog, we can start to add extra options into our conf.py file to tune and tweak the current layout.
The Pydata Sphinx theme can also be configured, most of which are managed via the html_theme_options which is a dictionary of settings, while we cover off a small subset here there are more that you can checkout on the Pandas Read the Docs site
html_theme_options = {
    # If you want to configure Twitter or Github social media buttons to show up to the right of your nav bar,
    # you can use the "github_url" and "twitter_url" options:
    "github_url": "https://github.com/errbufferoverfl/",
    "twitter_url": "https://twitter.com/errbufferoverfl",
    # You can also change the text that is in the search bar before people click on it by setting the
    # "search_bar_text"
    "search_bar_text": "Search for treasure...",
    # By default your site will have a search bar in the nav bar, but when we include the about.html,
    # this gets removed to so you can add one to the top "navbar" instead
    "search_bar_position": "navbar",
}
Next up we can add some additional configuration to our conf.py to further tune ablog, while we cover off a small subset here there are more that you can checkout on the ablog Configuration Options:
# If you used the blog file path in part one you do not need to set this value, however if you change it,
# this should be set to the same value.
# blog_path = "posts"

# blog_feed_fulltext: Choose to display full text in blog feeds.
blog_feed_fulltext = True

# Glob pattern that grabs all posts so you don't need to specify which posts are blog posts in each post
# This pattern facilitates a folder structure such as posts/2020/my-awesome-post.rst
blog_post_pattern = "posts/*/*"

# post_redirect_refresh: Number of seconds (default is 5) that a redirect page waits before refreshing the page
# to redirect to the post.
post_redirect_refresh = 1

# post_auto_image: Index of the image that will be displayed in the excerpt of the post. Default is 0, meaning no
# image. Setting this to 1 will include the first image
post_auto_image = 1

# post_auto_excerpt: Number of paragraphs (default is 1) that will be displayed as an excerpt from the post. Setting
# this 0 will result in displaying no post excerpt in archive pages.
post_auto_excerpt = 3
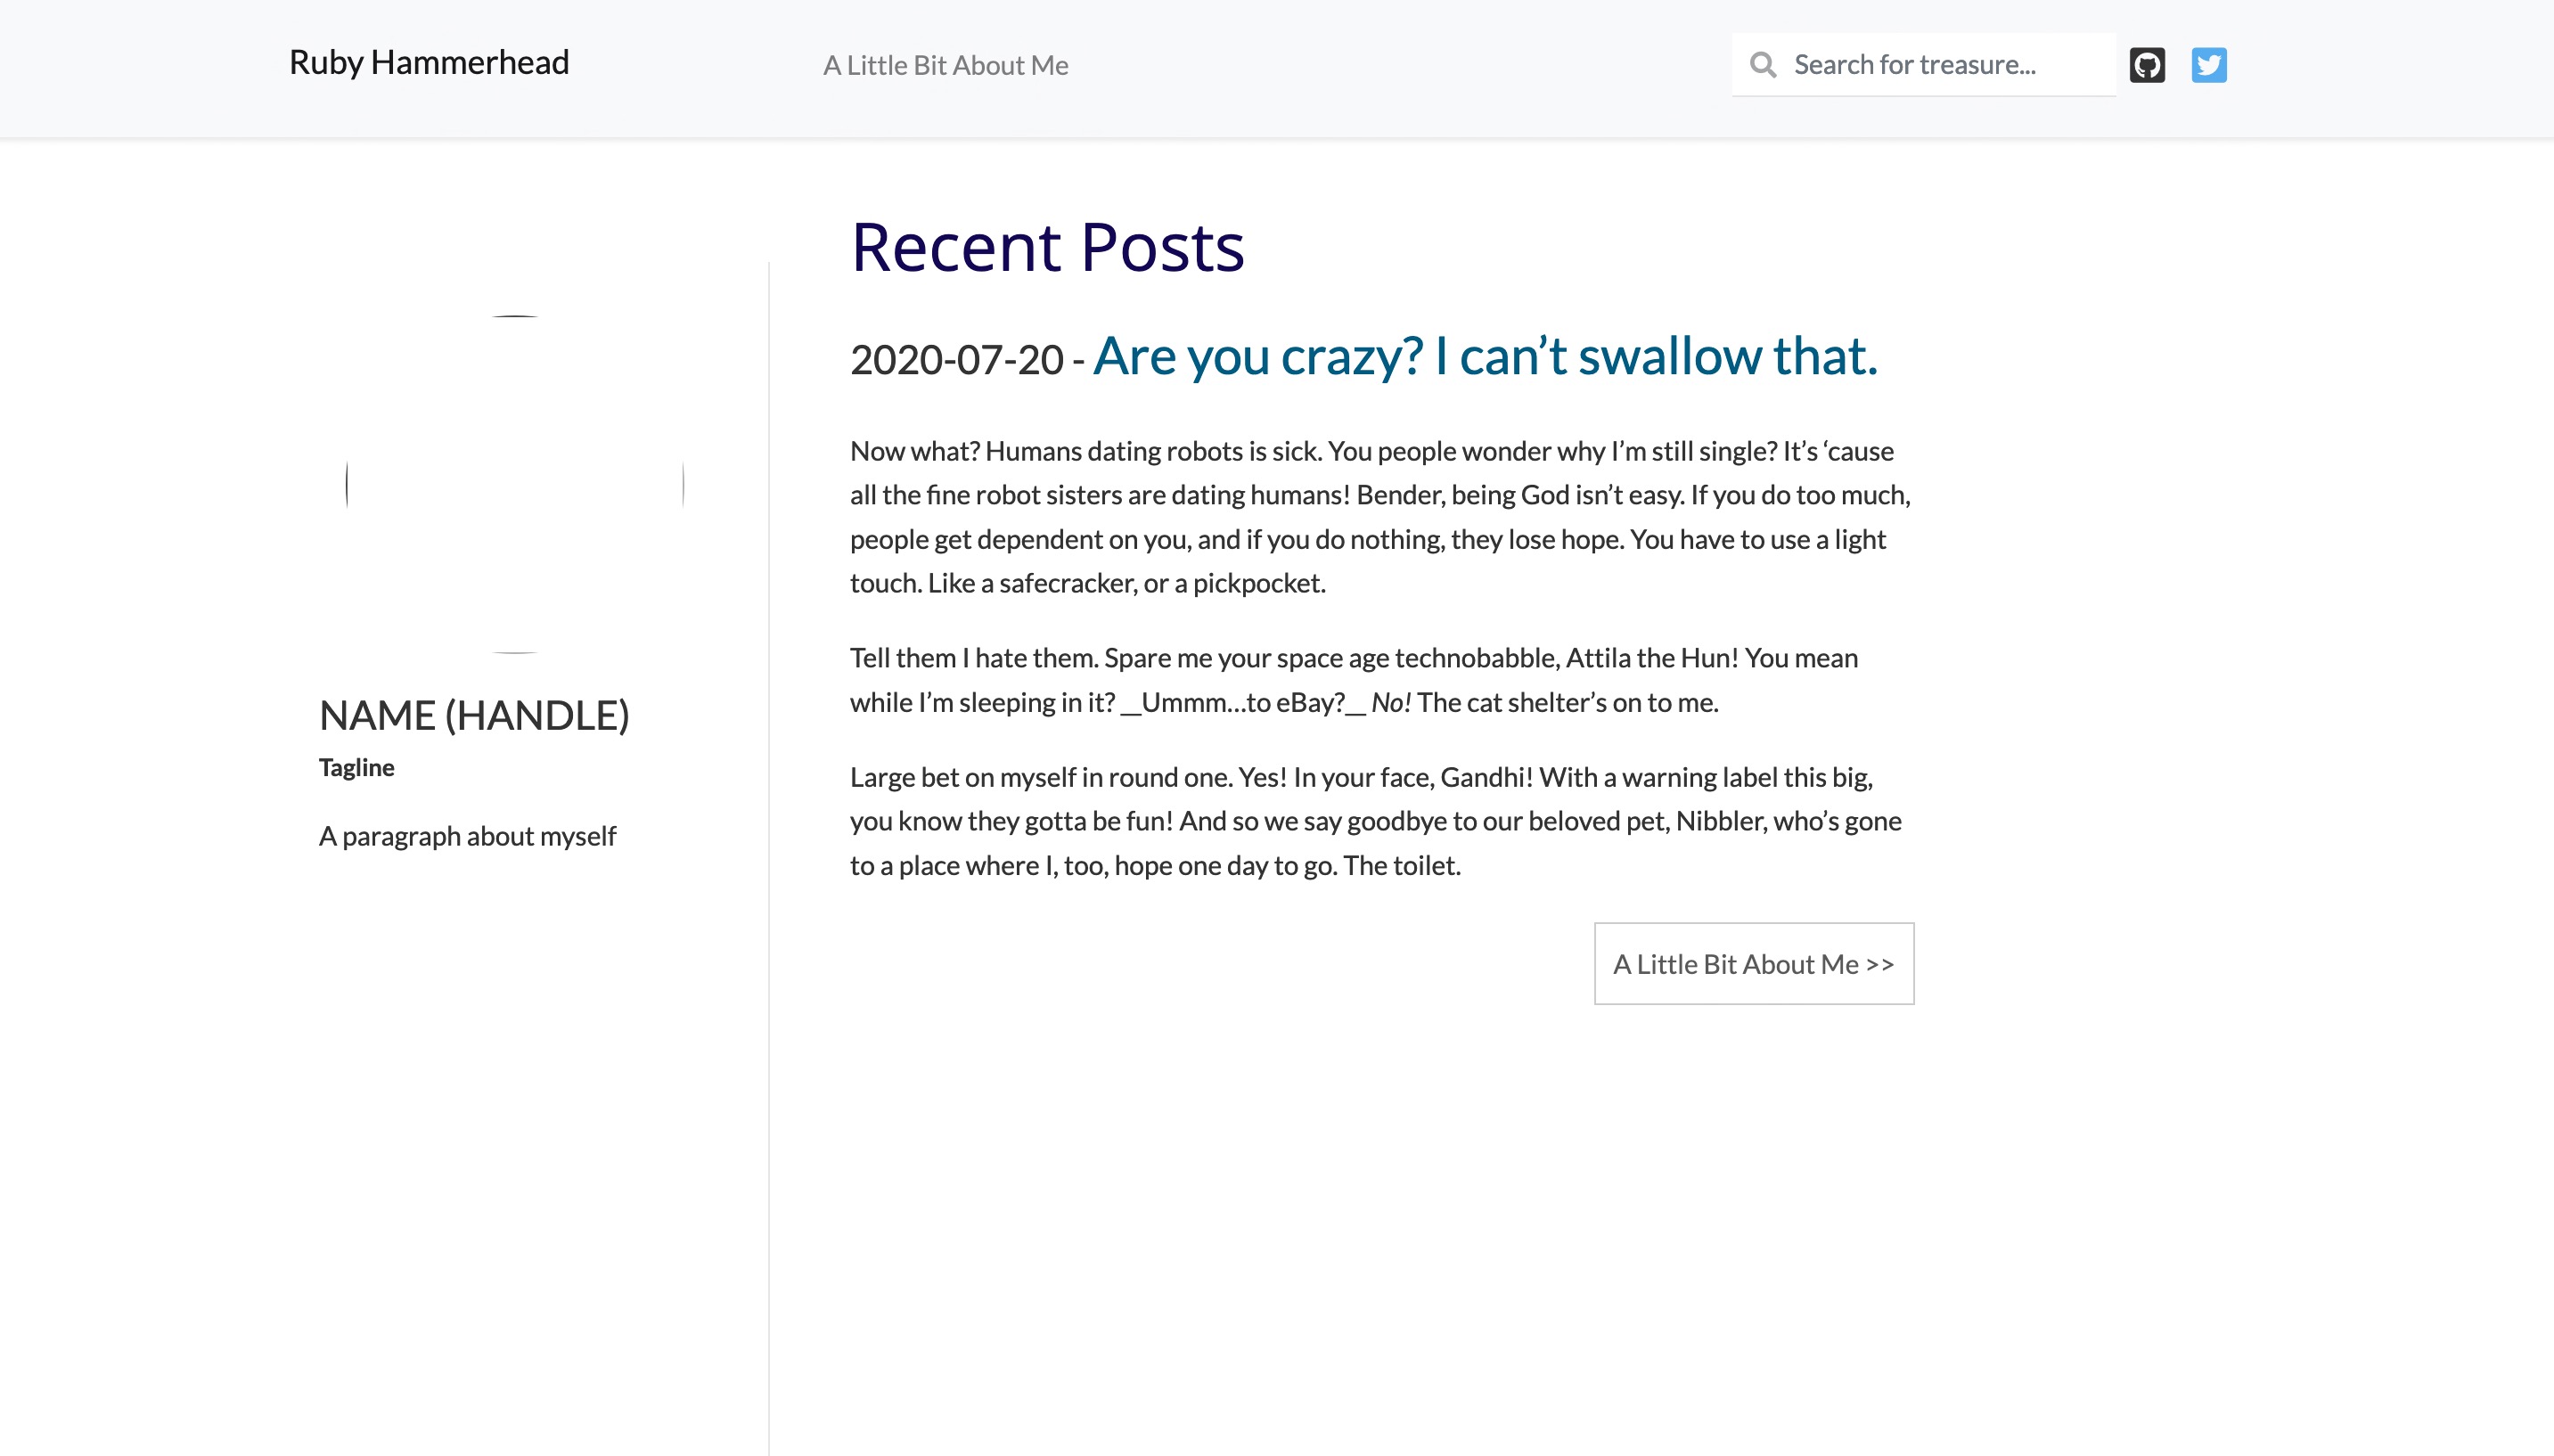
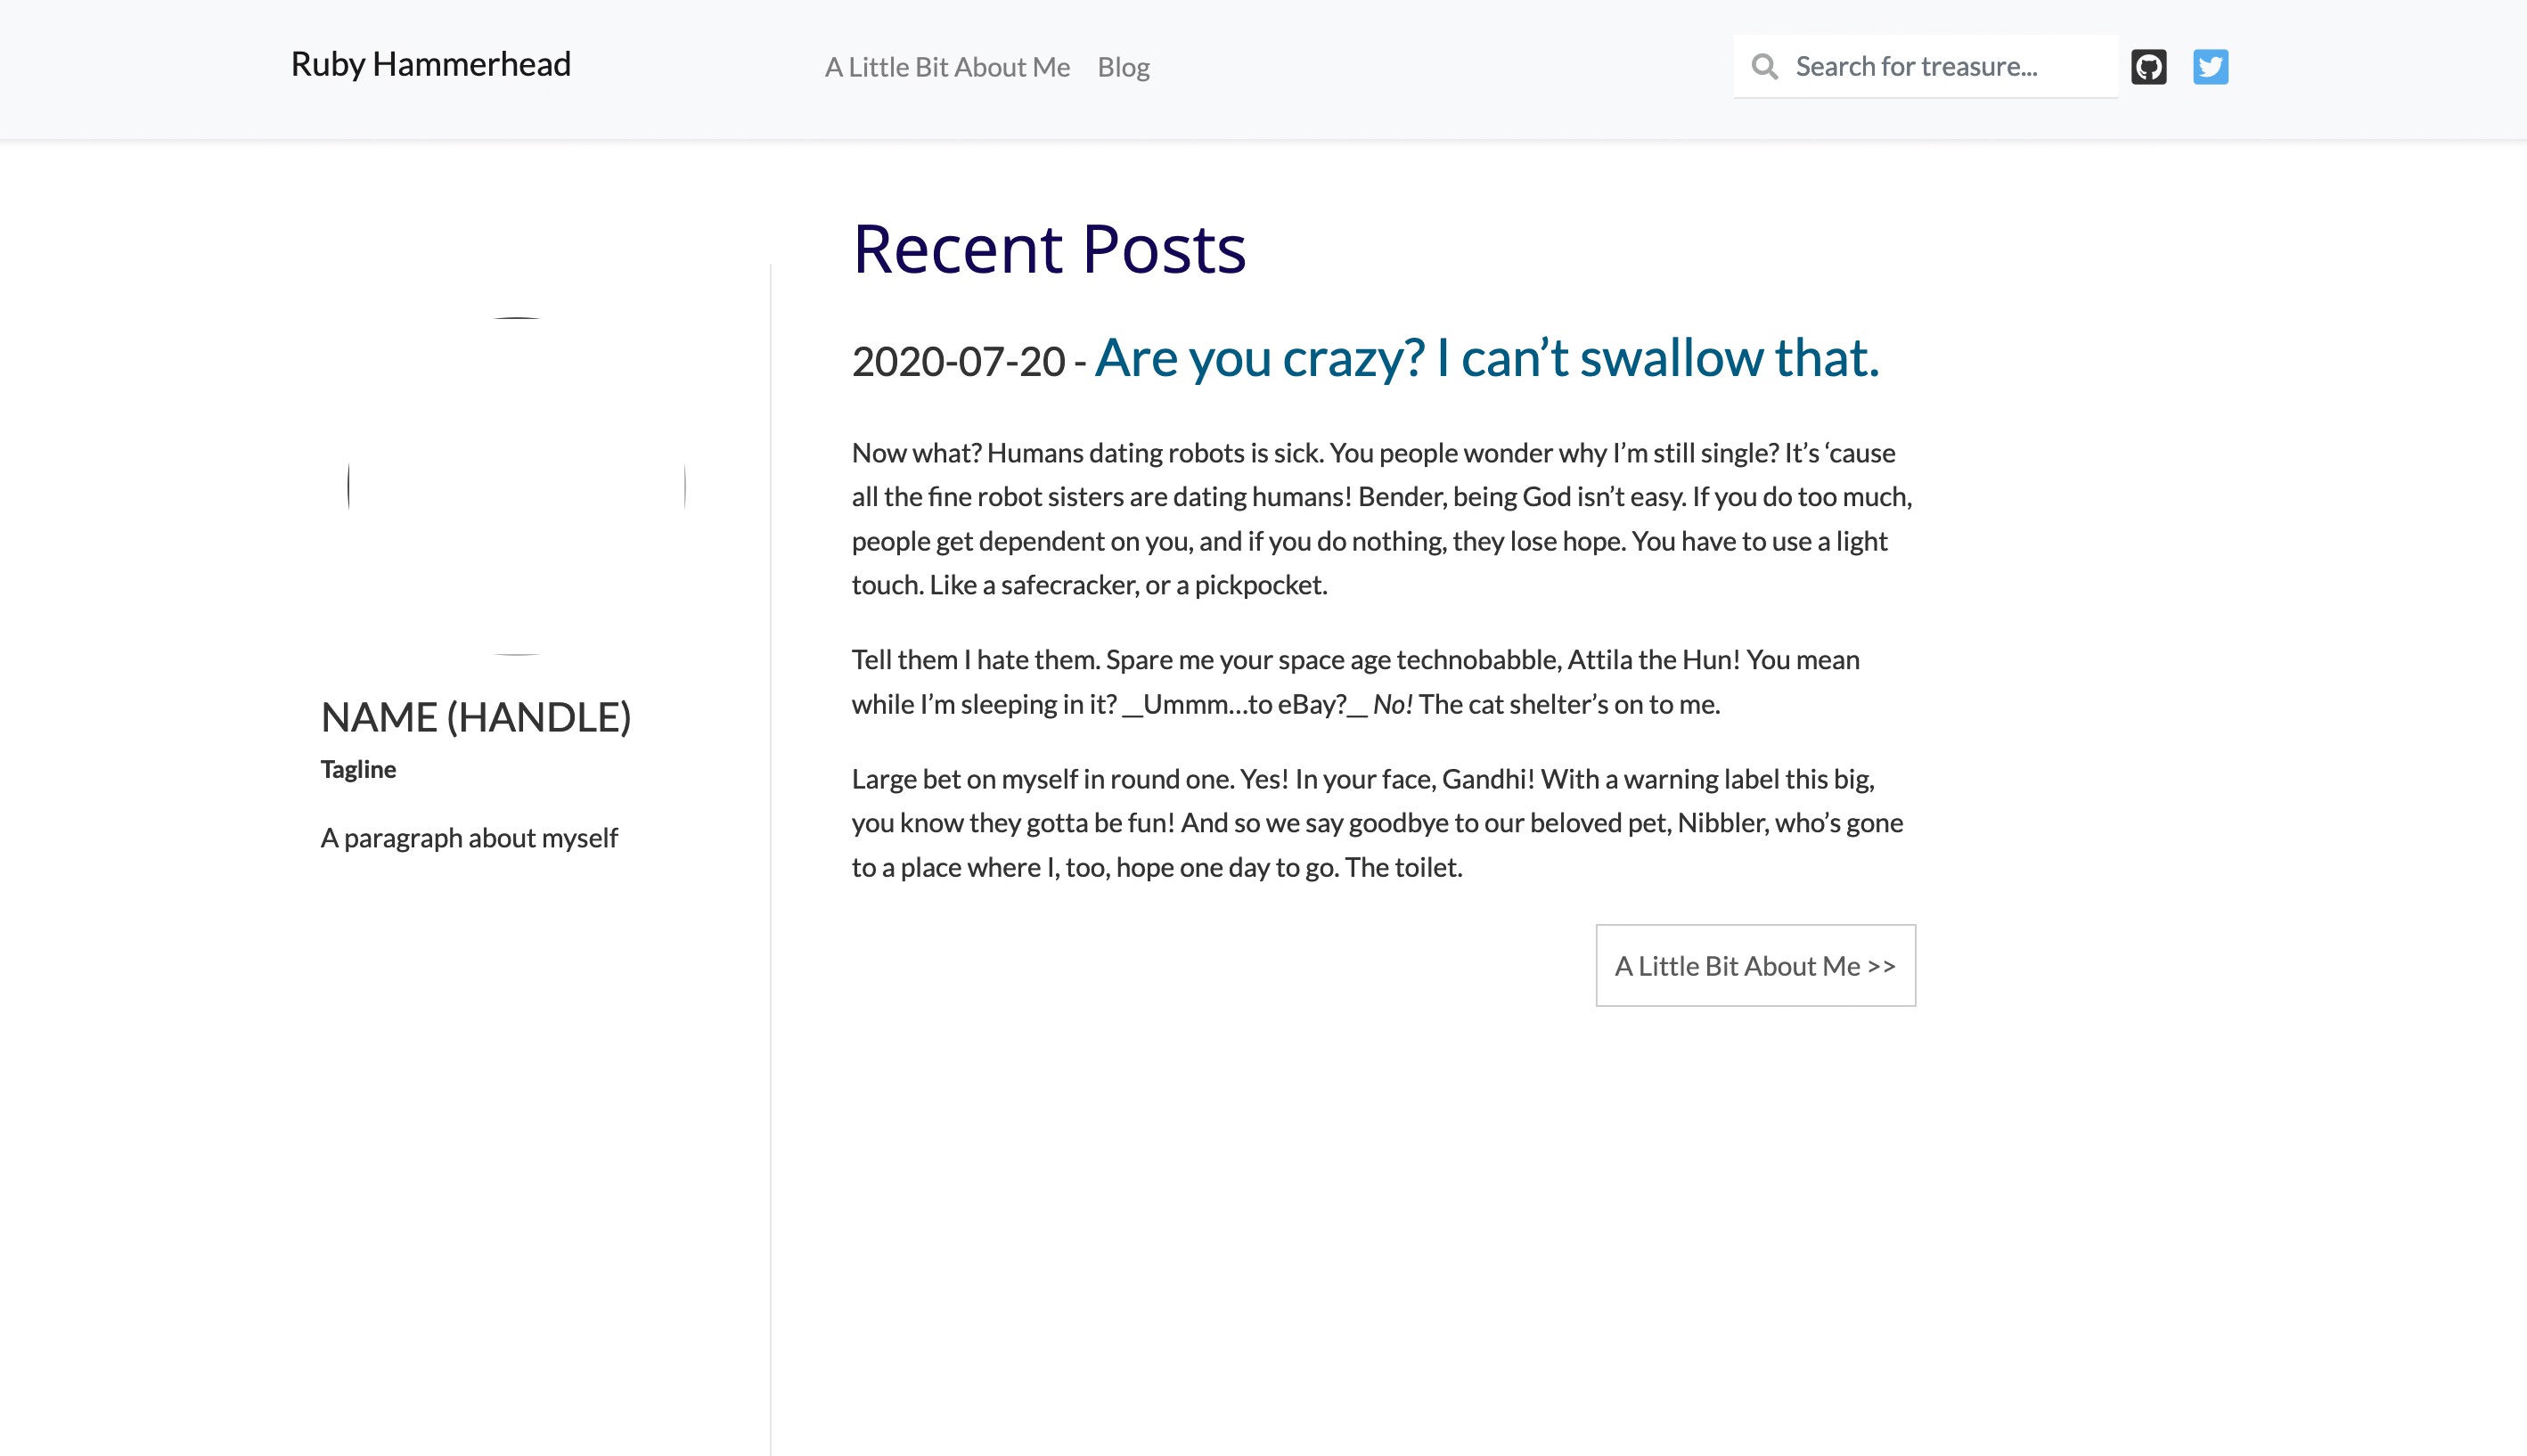
Presuming you have used these settings your website should look something like the following image:
🎉 Great job! Now we have one more thing to do as part of setting up our site, before it’s over for you to tinker and change to your hearts content!
🔗 Adding a Static Link to All Posts
Because we limited the index page to only 10 posts, you might want to include a link in the top navigation to the all posts page, the good news is: this is a pretty straight forward thing to do.
The first step is creating a new rst file in the root directory named blog or the same value that you set blog_path in the conf.py (if you didn’t set this value, it will default to blog). Your folder structure should look like this:
project-directory
    _build/
    _static/
        custom.css
    _templates/
        aboutme.html
    blog
        sample-blog.rst
    about.rst
    blog.rst
    conf.py
    index.rst
    make.bat
    Makefile
In the newly created file, we want to add a title, to ensure that Sphinx generates the a link for us this won’t be rendered as the link will actually resolve to the page that ablog generates for us. Next, in the same way we registered our about page in part one, we want to include the newly created blog page in the index.html toctree:
Recent Posts
=============

.. toctree::
   :maxdepth: 1
   :caption: Contents:
   :hidden:

   about

.. postlist:: 10
   :author: errbufferoverfl
   :date: %Y-%m-%d
   :format: {date} - {title}
   :excerpts:
Recent Posts
=============

.. toctree::
   :maxdepth: 1
   :caption: Contents:
   :hidden:

    about
    blog

.. postlist:: 10
   :author: errbufferoverfl
   :date: %Y-%m-%d
   :format: {date} - {title}
   :list-style: none
   :excerpts:
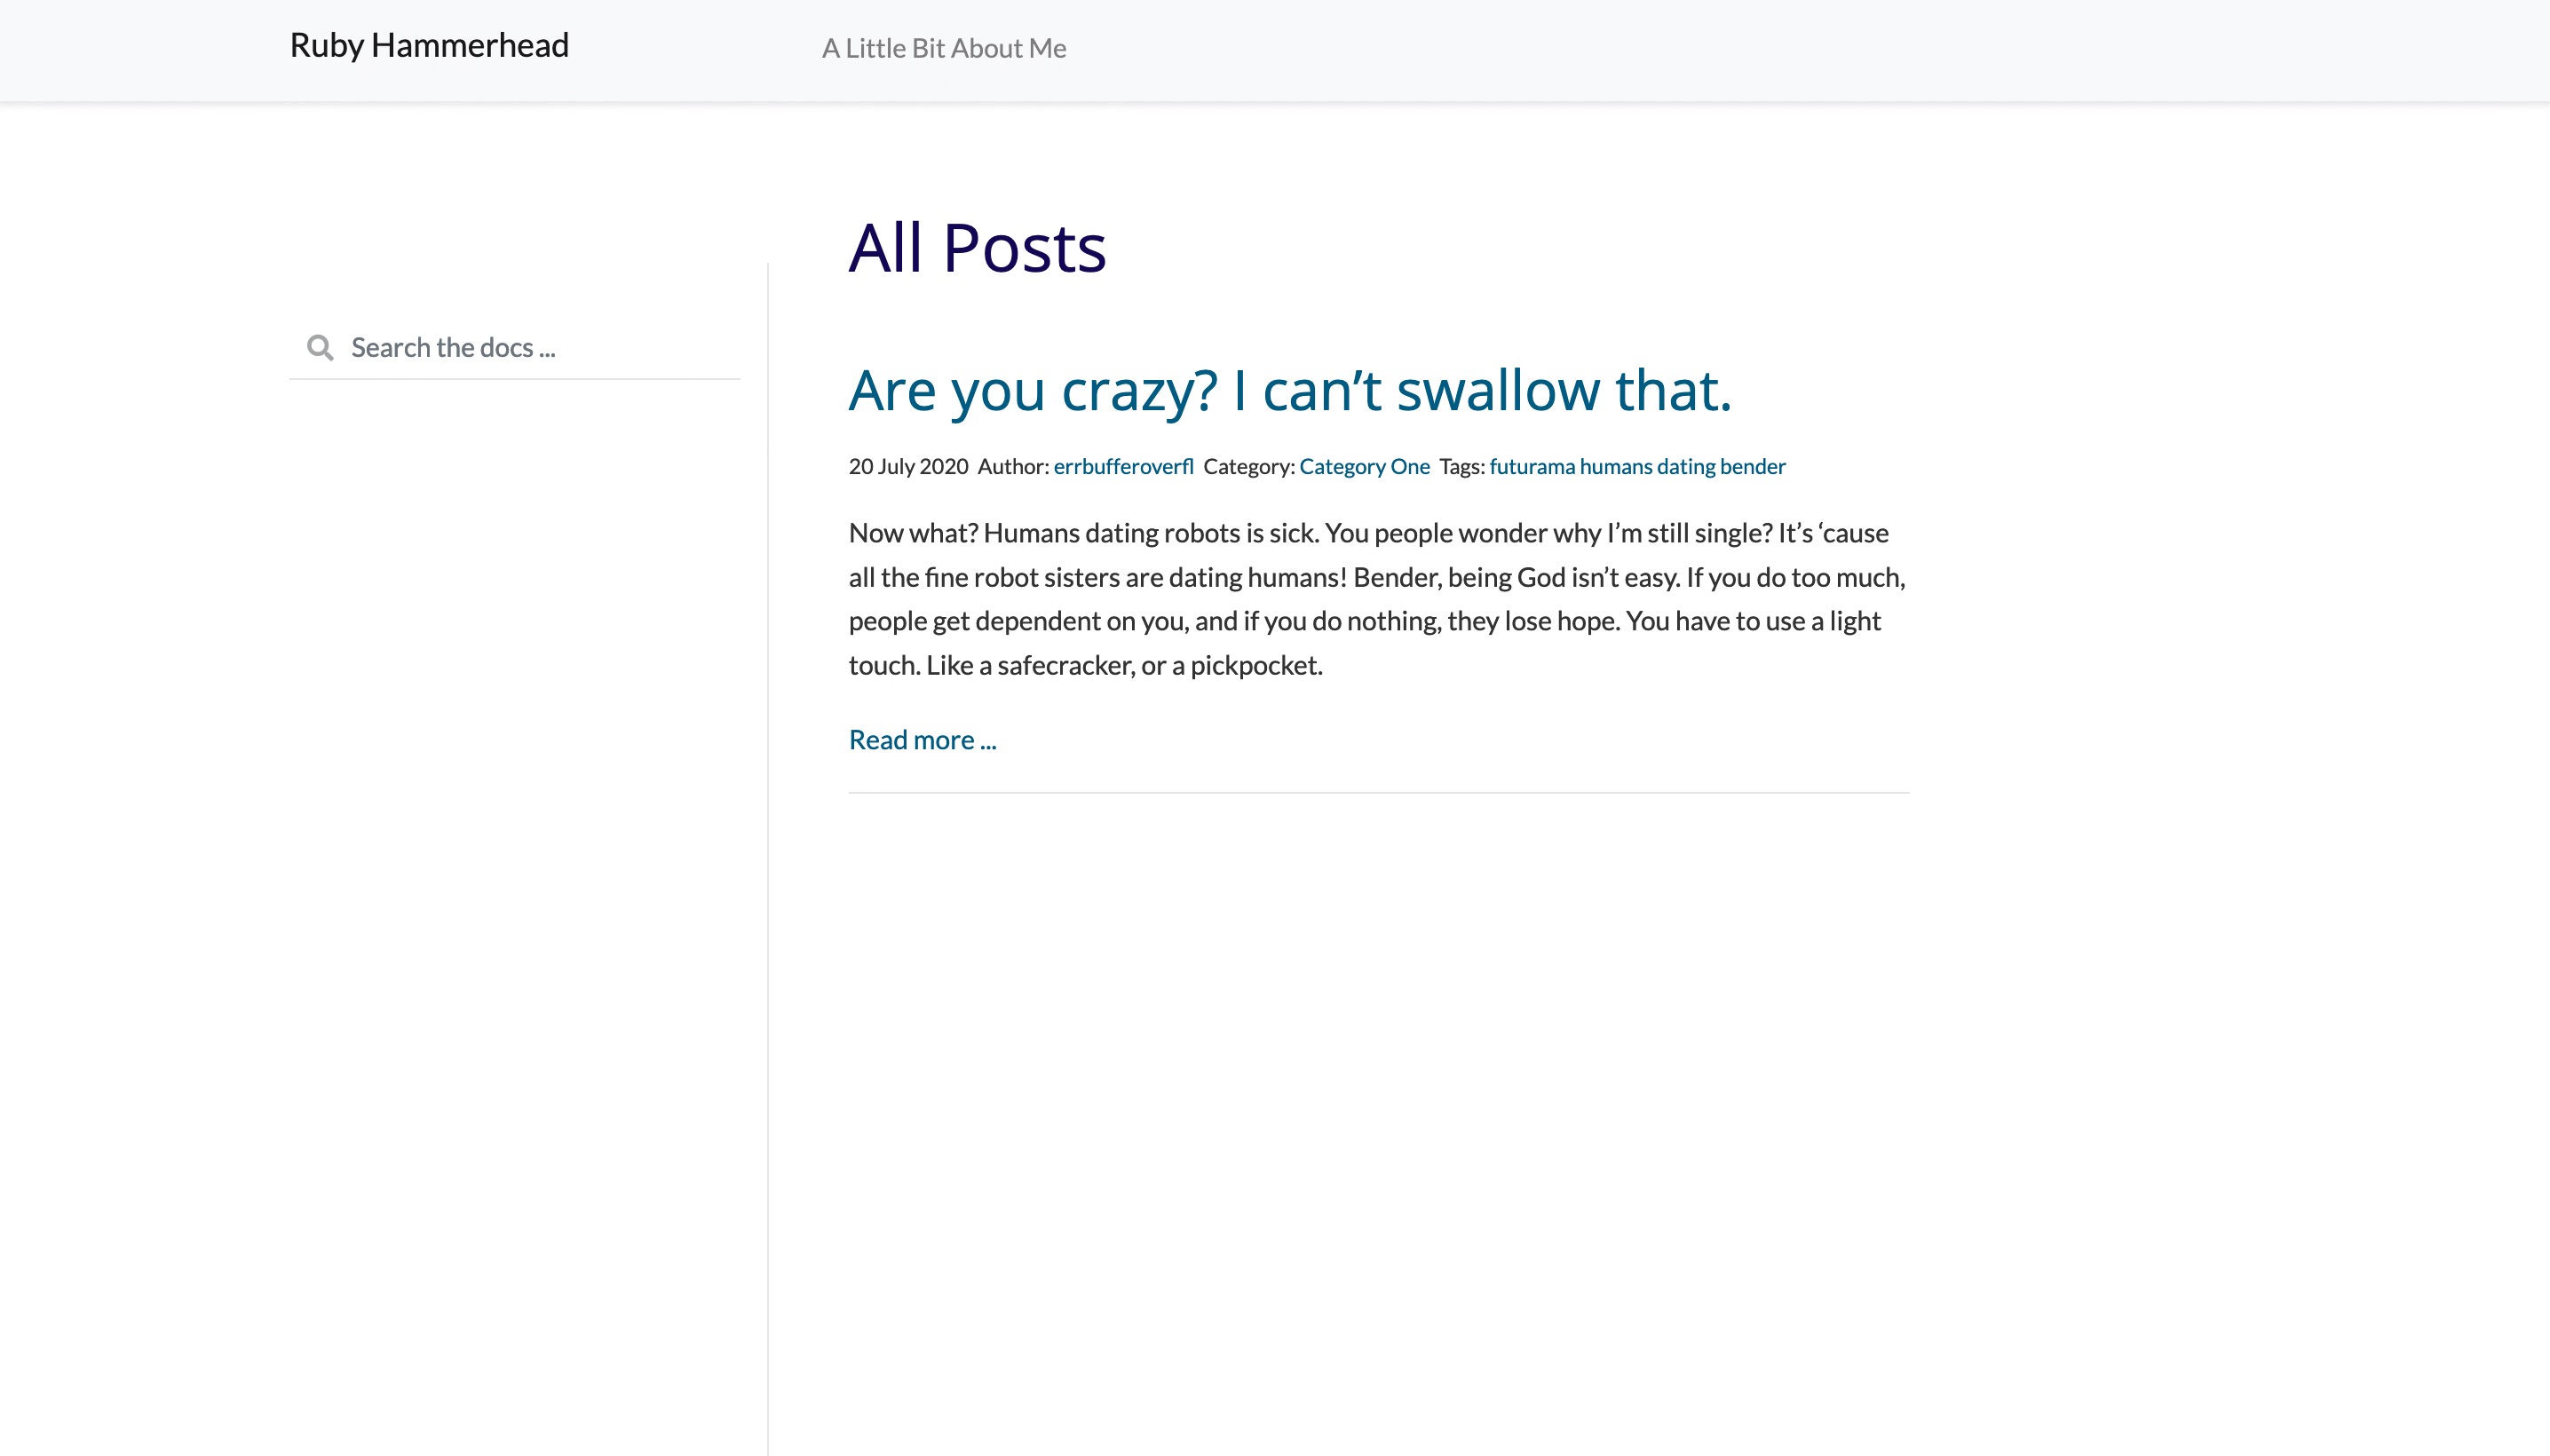
When you rebuild your website, you should now have a blog link in the top navigation like the example below:
🙌🏻 Congrats! You’ve now successfully customised your new blog adding in some custom CSS, a small sidebar profile that you can customise and changed some of the theme settings! While you’ve reached the end of today’s tutorial, in the next entry I will walk through how we can set up CI and CD to automatically publish your blog using Azure Storage, and CDN.